Add a Digital Twins Model
A model is a template that contains static and dynamic attributes, data transformations, and schemas. Instances are copies of a model configured with their own parameter values. After you create Digital Twins models, deploy the models or model instances to Litmus Edge. When you deploy, you:
- Create a new model manually or from an import file.
- Configure the model by defining static and dynamic attributes, data transformations, and schemas.
- Deploy the model from Litmus Edge Manager to your Litmus Edge instance.
- Deploy instances from Litmus Edge Manager to your Litmus Edge instance.
You create Digital Twins models by navigating to Asset Management > Models for a company.
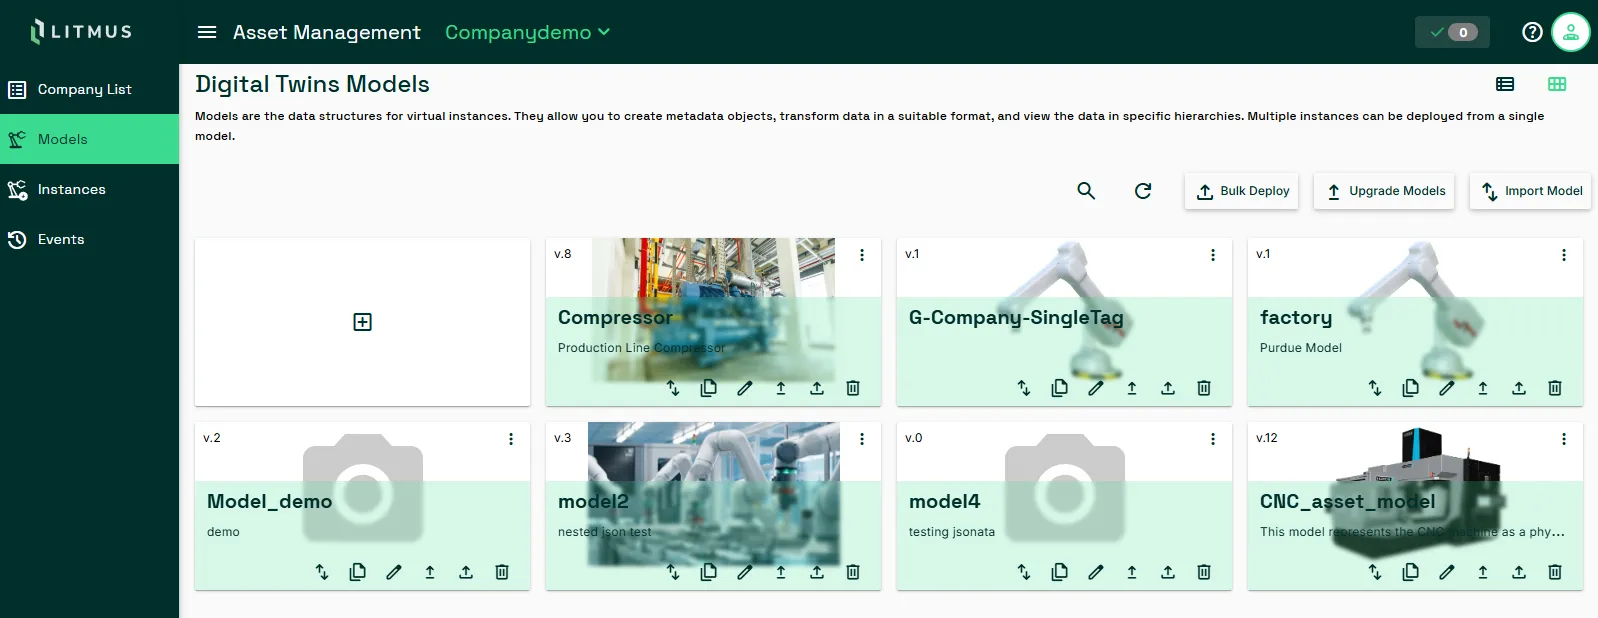
See Use Digital Twins to Contextualize Data for information on how to leverage Digital Twins.
Note: Digital Twins requires a Scale or Growth Litmus license.
Core Concepts
Static attributes
Static attributes are fixed metadata values you define on a model, such as Manufacturer, Model, or Plant. They act as placeholders and you set default values on the model and then override them for each instance. Use static attributes for information that describes an asset but doesn't change in real time.
Dynamic attributes
Dynamic attributes represent real-time data from your assets, such as temperature or pressure readings. Each dynamic attribute has a data type (JSON, boolean, array, string, or number) and a topic that tells Litmus Edge where to read the data from. You can use topic expressions with parameter placeholders to define topics that vary per instance.
Note: Dynamic attribute data type values are stored and returned in lower case.
Transformations
Transformations convert raw data published on a topic into a cleaner, more useful format before it reaches northbound systems. You can use JSON transformations to filter specific key-value pairs, or JSONata transformations for more complex logic like conditional outputs or computed values. Transformations are defined at the model level and applied to individual dynamic attributes.
Schema
A schema defines a custom structure for organizing the model's attributes into a hierarchy. You build the schema by grouping static and dynamic attributes under named nodes. Schemas make it easier for downstream systems to consume your Digital Twins data in a predictable shape.
Viewer and Administrator Roles
Visibility of edge devices is limited to the companies that you have access to. The actions that you can perform also depends on your asset management role (defined in Litmus Edge Admin Console). You are also assigned one of the following roles:
- The Viewer role allows view access to Digital Twins.
- The Administrator role allows full access to Digital Twins.
Create the Model
You have two options for creating the model. You can create a new model or import a model as a JSON file.
Create a New Model
To create a new model:
- From the companies list, navigate to Asset Management > Models.
- From the Models pane, click the Create a model tile.
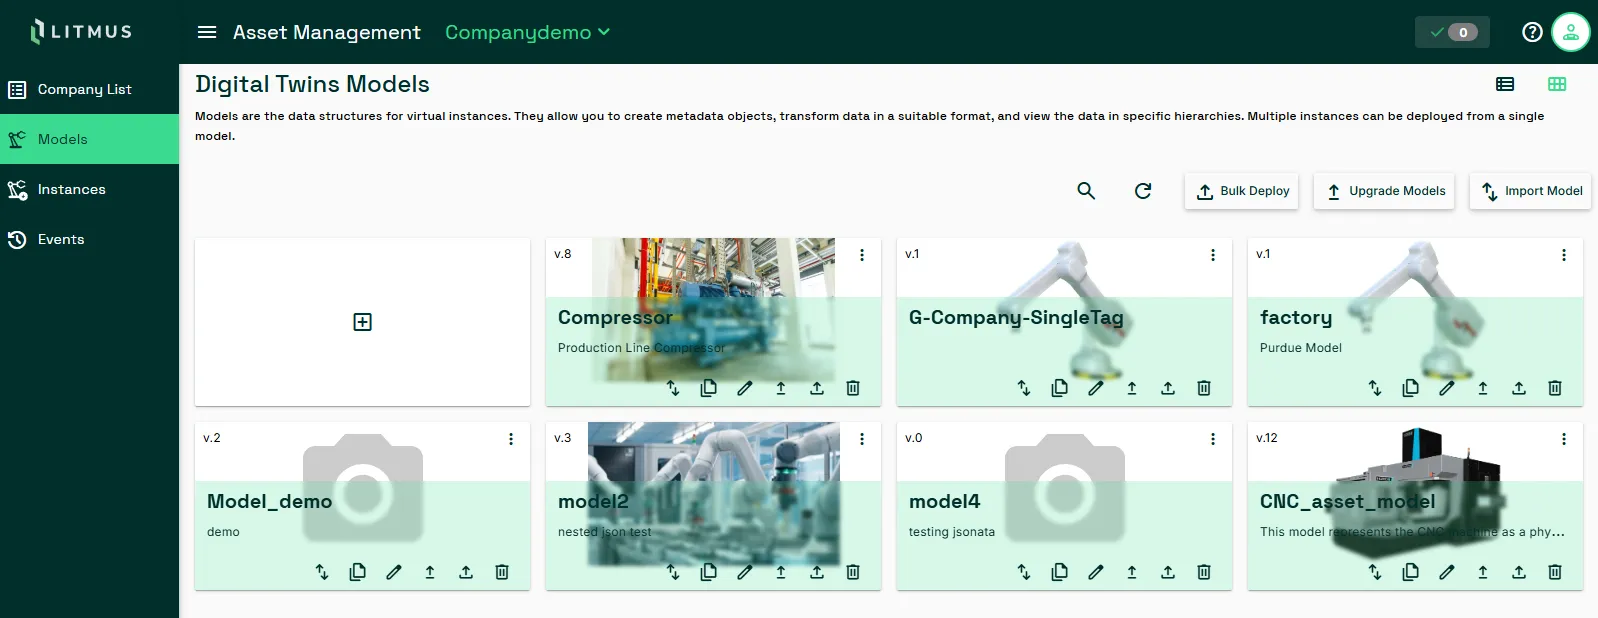
- From the Asset drop-down, select a model type.
- Enter the name of the model in the Name field.
- Optionally, enter a short description of the model in the Description field.
- Click Add. A new model tile appears in the Models pane.
Import an Existing Model
You can import a model as a JSON file.
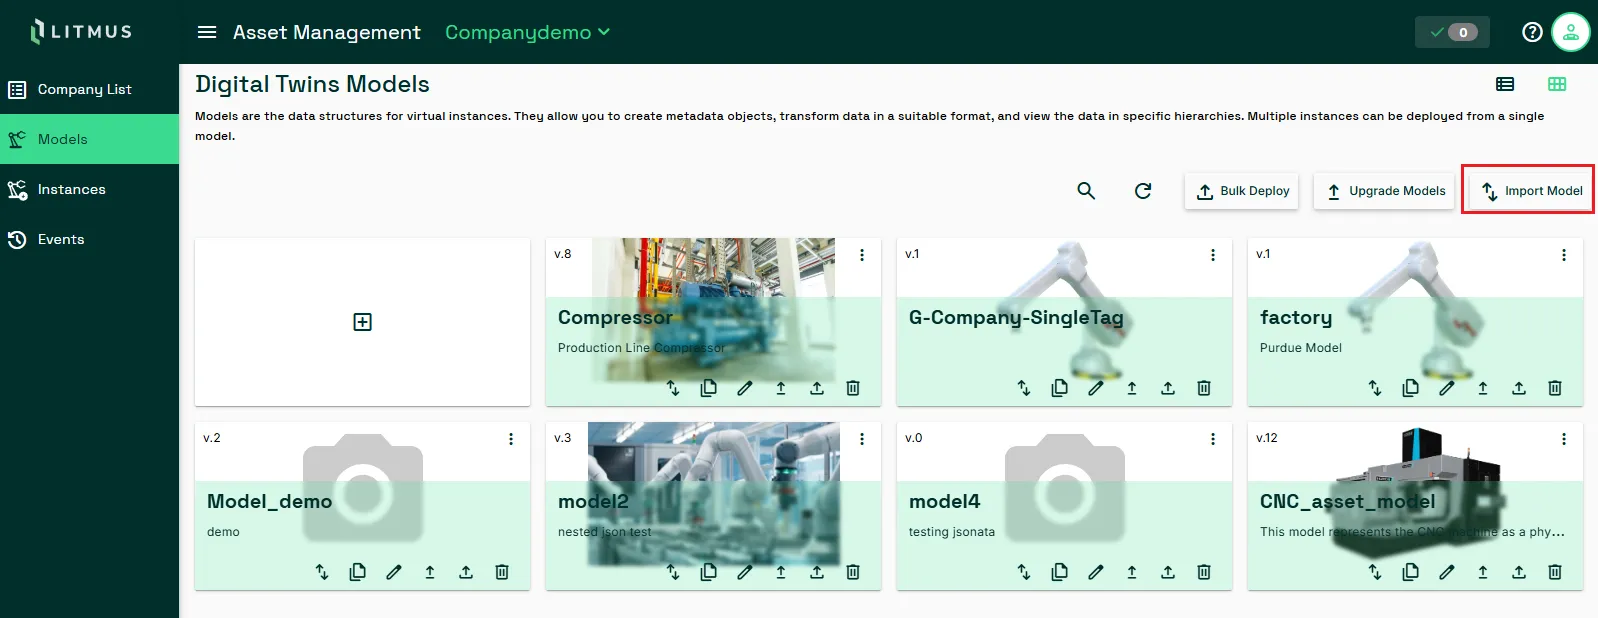
To import an existing model, click Import Model, select a <model name>.json file, and click Open.
Model Versions
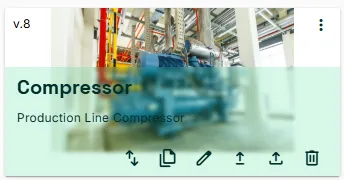
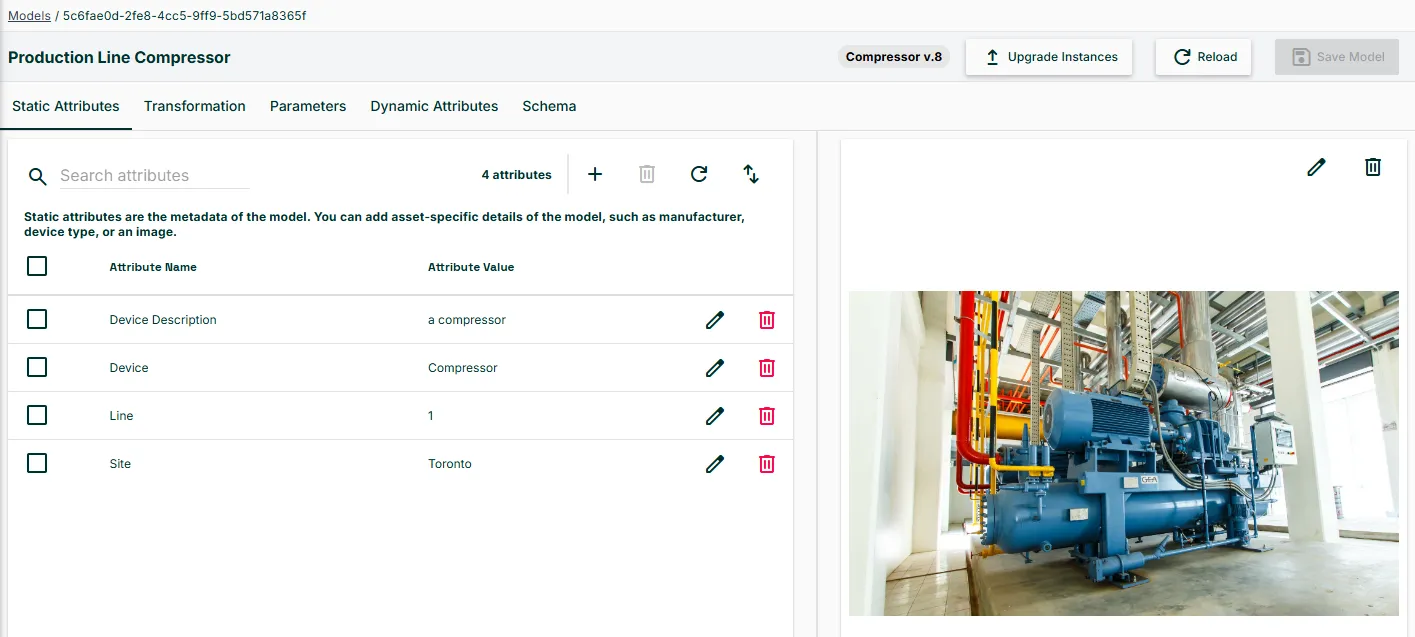
When you create a model, the model version starts at v.0. The version number increments when you save the model. The version number displays in the:
- Model tile.
- Model and instance configuration page.
Configure the Model
After creating the model and defining a name, you can configure it with static and dynamic attributes and schema to represent your assets or data structures.
Model Image
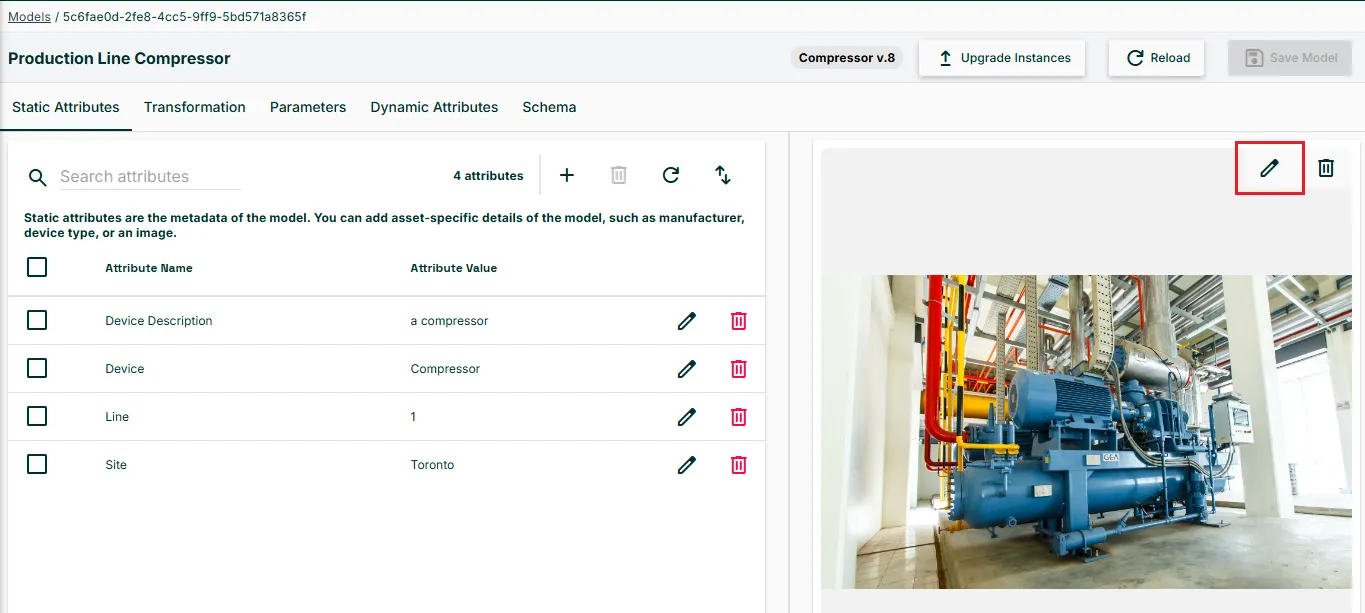
Select a model and click the Upload image icon to choose an image for the model. The image displays in the model tile on the Models pane.
Static Attributes
When you create static attributes, you define default attribute values as placeholders. Later, you change the default values in model instances. For example, you might define Manufacturer , Device Description, Model and Plant attributes and change the static attribute values later in instances.
Manage the metadata for the model from the Static Attributes tab.
Add Static Attributes
If you need to filter existing attributes, you can use the search field.
To add static attributes:
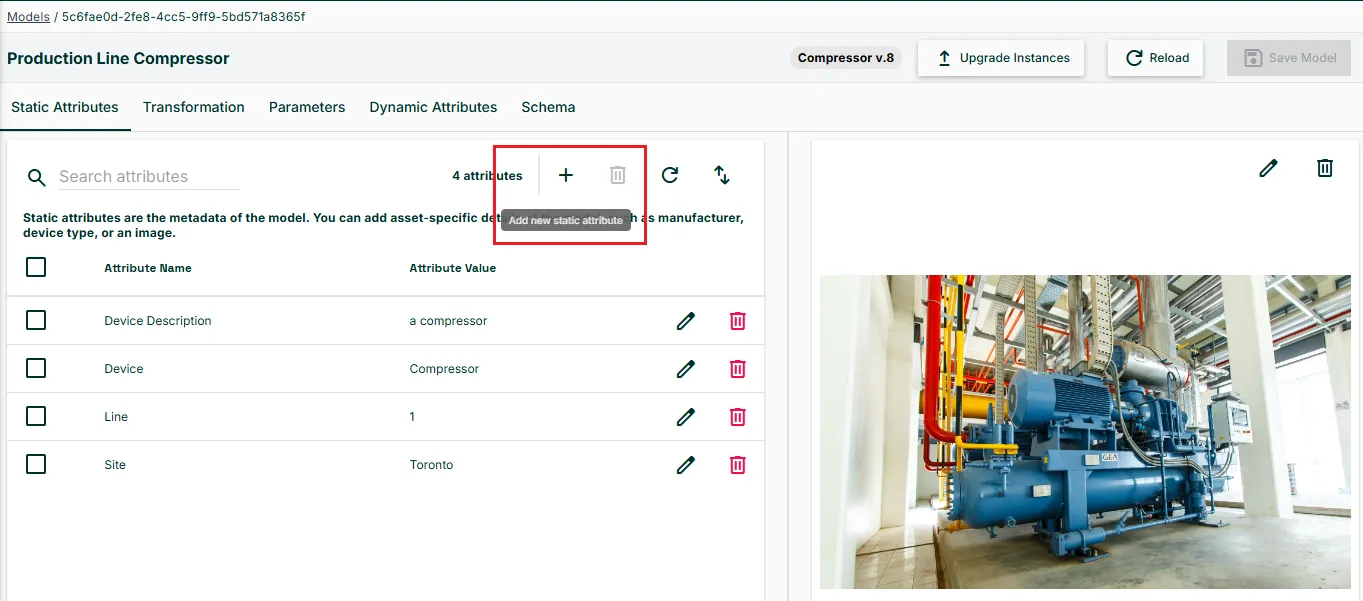
- From the Static Attributes tab, click Add new static attribute.
- In the Attribute Name field, either select an attribute from the drop-down list or enter a new attribute name.
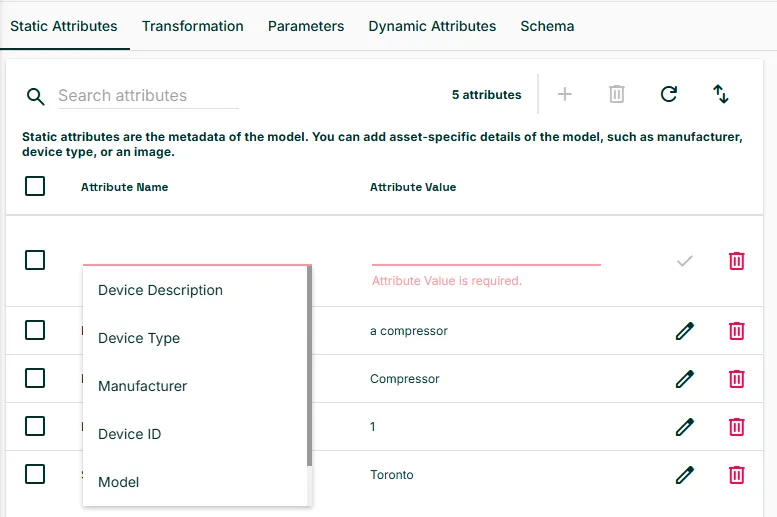
- In the Attribute Value field, enter a value for the attribute.
Import Static Attributes
Before importing, create a CSV file with the following headers, then add rows with attribute names and values.
Required Headers
- ModelName
- Key
- Value
Optional Headers
- InstanceName
After creating the file:
- Navigate to Static Attributes, and select Import Attributes.
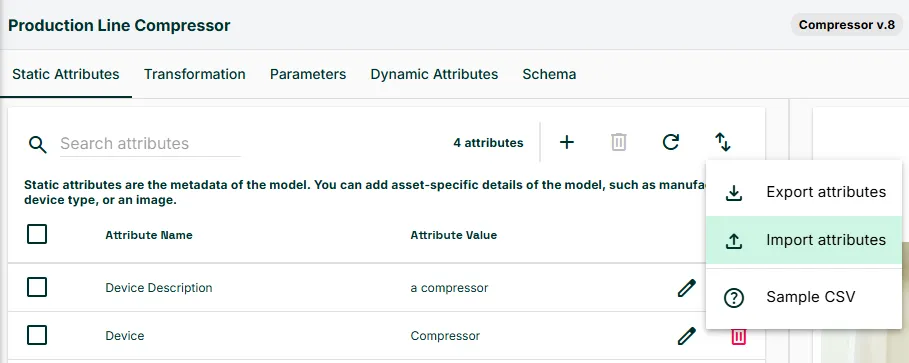
- In the dialog your browser opens, navigate to and open the CSV file.
Export Static Attributes
You can export all attributes to a CSV file, modify them offline, and import them again.
To export a CSV file with existing static attributes:
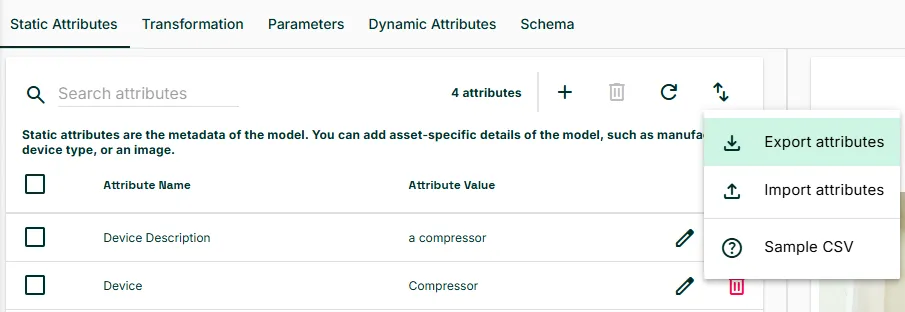
Navigate to Static Attributes, and select Export Attributes. Attributes export to a CSV file.
Dynamic Attributes
Next, define dynamic attributes that represent real-time data for your asset. Dynamic attributes can be JSON, boolean, array, string, or number data types. Each dynamic attribute can have an associated transformation.
Add Dynamic Attributes
To add a dynamic attribute:
- Click the Add item icon.
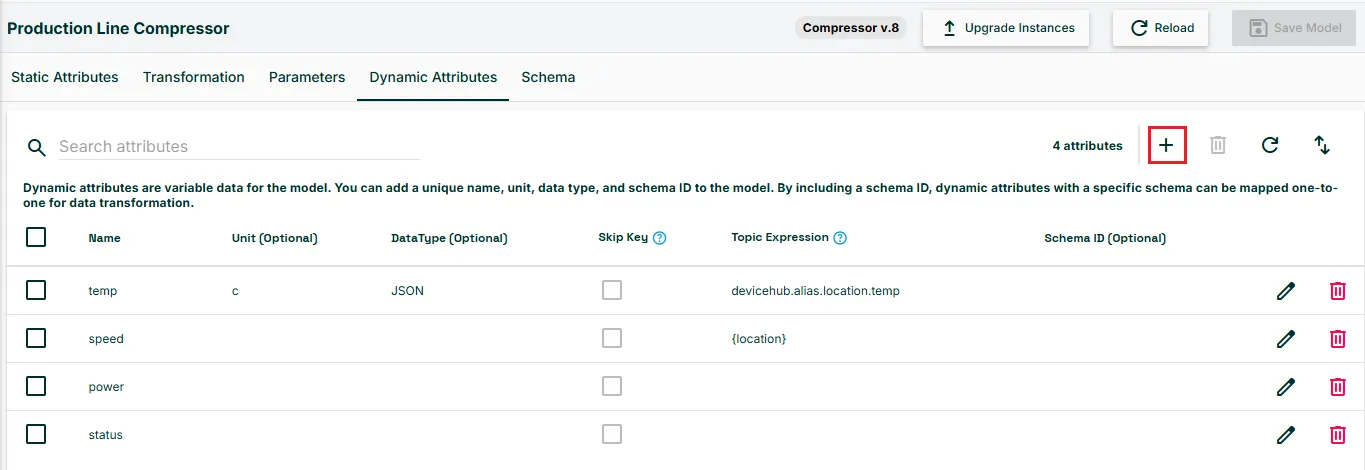
- In the Name field, enter a name for the attribute.
- Optionally, enter a value for Unit and select a Data Type. JSON applies if you do not specify a data type.
- The Skip Key option is only available when the data type is JSON. Select Skip Key to exclude a specific attribute from the payload. Note that the value persists in the payload, for example, as value='20'.
- Optionally, define a topic expression consisting of static string values and parameters by surrounding the expression in curly brackets ({}). For example, devicehub.alias.{device}.tagname.
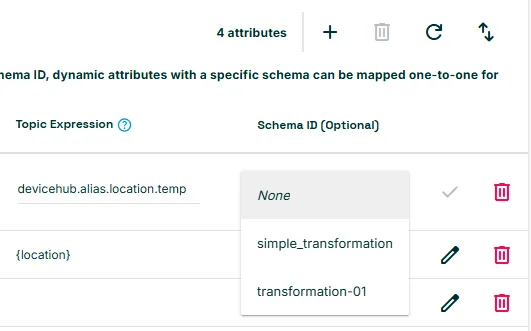
- Optionally, if you've created data transformation schemas, select one from the SchemaID field.
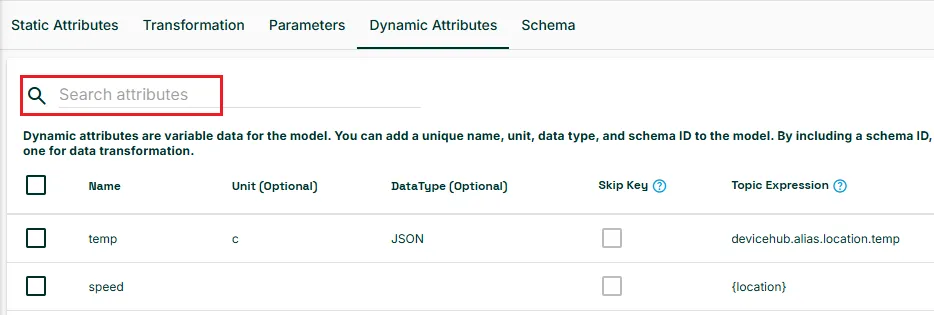
- If you need to filter existing attributes, you can use the search field.
Import and Export Dynamic Attributes
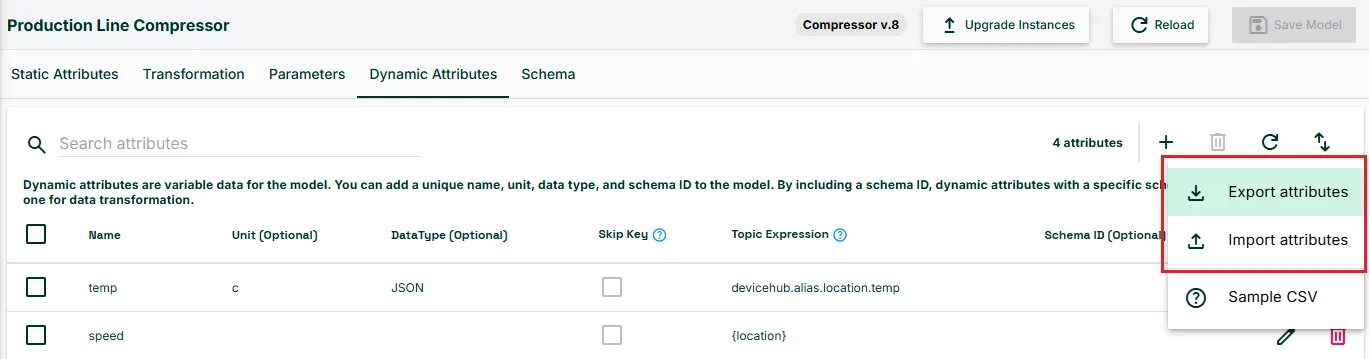
To import dynamic attributes, download the sample CSV file and populate it with your dynamic attributes. After creating the file, click the model tile, navigate to Dynamic Attributes, and click the Import Attributes icon.
To export a CSV file of existing dynamic attributes, click Export Attributes.
Transformations
Use transformations to convert the raw JSON data published on topics in the message broker to a desired format. Transformations apply to specific dynamic attributes and the resulting transformation is included in the full Digital Twins and Publish Attributes payloads. Transformations clean your data and make it easier for northbound systems to consume. For example, create a transformation that eliminates duplicate timestamps and register IDs in your payload.
Transformations parse and transform the payload and specify a payload structure as the model inherits data. See Use Digital Twins to Contextualize Data for information on formatting transformations.
With transformations, you can:
- Create a JSON transformation that filters specific key-value pairs . For example, this transformation only includes the following attributes in the payload.
}
  “value“: “$value“,
  “timestamp“: “$timestamp“:
}- Create a JSONata transformation to perform dynamic filtering. JSONata is a query language that allows logical conditions and computed outputs. For example, use JSONata to create an alert when a temperature tag exceeds a high or low threshold value.
{
  "asset": deviceName,
  "area": metadata.area,
  "line": metadata.line,
  "quality": success,
  "metric": "metric",
  "timestamp": $fromMillis(1510067557121, '[M01]/[D01]/[Y0001] [h#1]:[m01][P]'),
  "value": value
}- Use a playground to test out your transformations before adding them to a model.
Configure Transformations
To add a transformation schema:
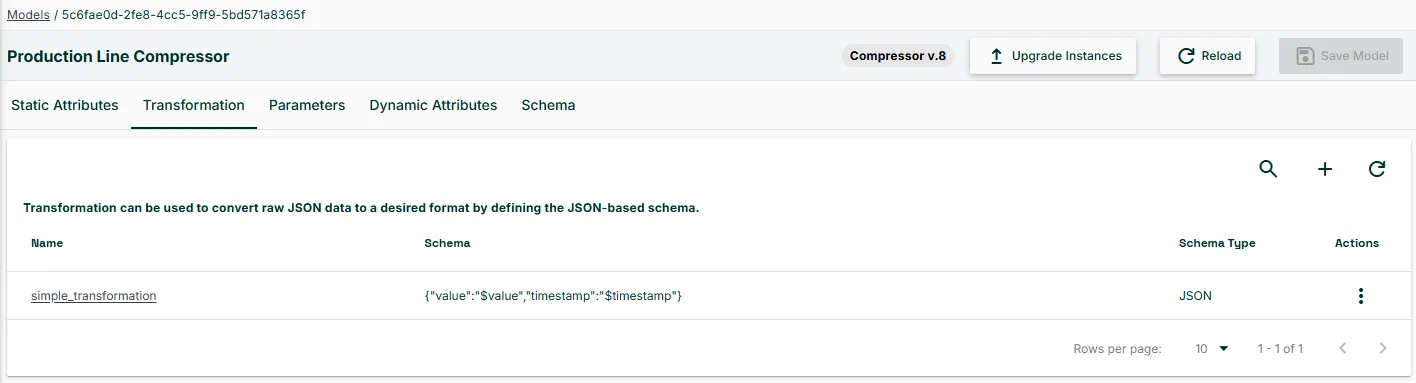
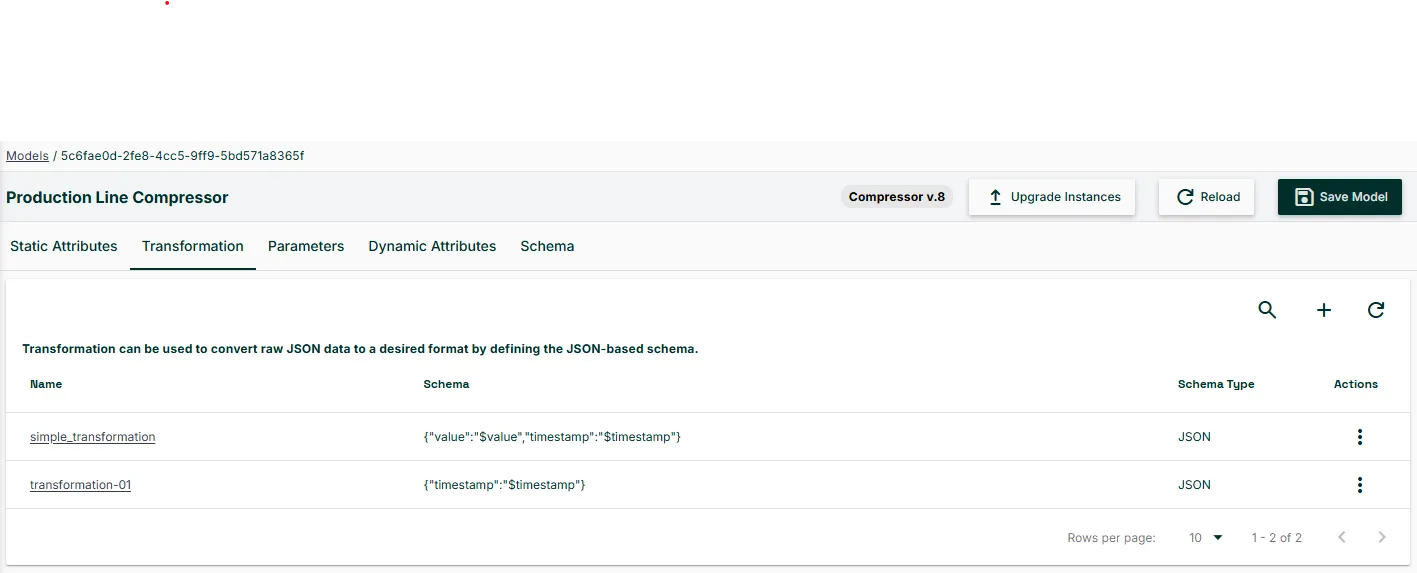
- Select the Transformation tab and click Add a Schema.
- Enter a name for the schema.
- Select from JSON or JSONata from Schema Type drop-down menu.
- In the code window, copy and paste the JSON-based or JSONata schema.
- (Optional) You can use the System Variables in the code drawer.
- Experiment in a playground.
- Click Add.

- To edit or delete a schema, click the Action menu for the schema and select an option.
- Apply the transformation to specific dynamic attributes.
Configure Parameters
Parameters are variables that you can insert into topic expressions. Parameters help you save time when defining instances that have many attributes.
For example, define a device parameter and add it as a topic expression for a dynamic variable with the following syntax: devicehub.alias.{device}.tagname. Then modify the value for the device parameter for each instance on the Instance Parameters configuration page.
Note: Parameter names and values are case sensitive and cannot contain whitespaces. Allowed characters:
- A-Z in lowercase and uppercase
- 0-9
- Hyphen (-) and underscore (_) characters.
To create a parameter:
- Navigate to the Parameters tab and click Add Item.
- Enter a parameter name and a placeholder value.

- Click Save Row. The new parameter saves.

- Add the parameter to a topic expression. In this example, devicehub.alias.{device}.Temperature is added to the Temperature attribute.

- Select an instance of the model and click Open Parameters.

- In the Instance Parameters dialog, edit the value for the device.

- Navigate to the Instance Dynamic Attributes page to see the topic defined for the dynamic attribute, based on your topic expression and parameter values.

Note: If a dynamic attribute has a topic expression defined, the topic for instances cannot be edited. To change the dynamic attribute topic, you must edit the model or parameter values.
Schema
Use the Schema tab to create a custom data structure for the model.

To create a category for the schema
- Click the Action menu icon for root and select Add Node.

- To add attributes to the schema, do one of the following:
- Drag and drop attributes from the left-hand list to the canvas under the appropriate category.
- Click the Action menu for a category and select Add item to Node. Then, select the attribute to add.
- When you have configured the schema, click Save Model.

Export Schemas
To export an existing schema to a CSV file, click the Export Schema icon.
Sync Attributes
To sync the existing schema
- Click the Sync Attributes icon. All attributes are appended to the current hierarchy. If they exist, the static_attributes and dynamic_attributes nodes are recreated.
- To confirm that you want to proceed, click Yes.

Clear Schema
To clear the schema builder tree, click Clear Schema. Changes apply when you save the model.

Apply Model Updates to Instances
When you update your model, you can apply the changes to model instances.
To apply model updates:
- Click Upgrade Instances.

- Select the instances to upgrade and click Upgrade.
