Create and Import Models
Note: To access the Digital Twins feature, you need a Scale or Growth Litmus license.
You can create Digital Twins models by navigating to Digital Twins > Models.
See Use Digital Twins to Contextualize Data to review how to leverage Digital Twins.
Step 1: Create Model
You have two options for creating the model. You can create a new model or import a model as a JSON file.
Create a New Model
To create a new model:
- Navigate to Digital Twins. The Models pane appears.
From the Models pane, click the Create a model tile. The Create a Model dialog box appears.
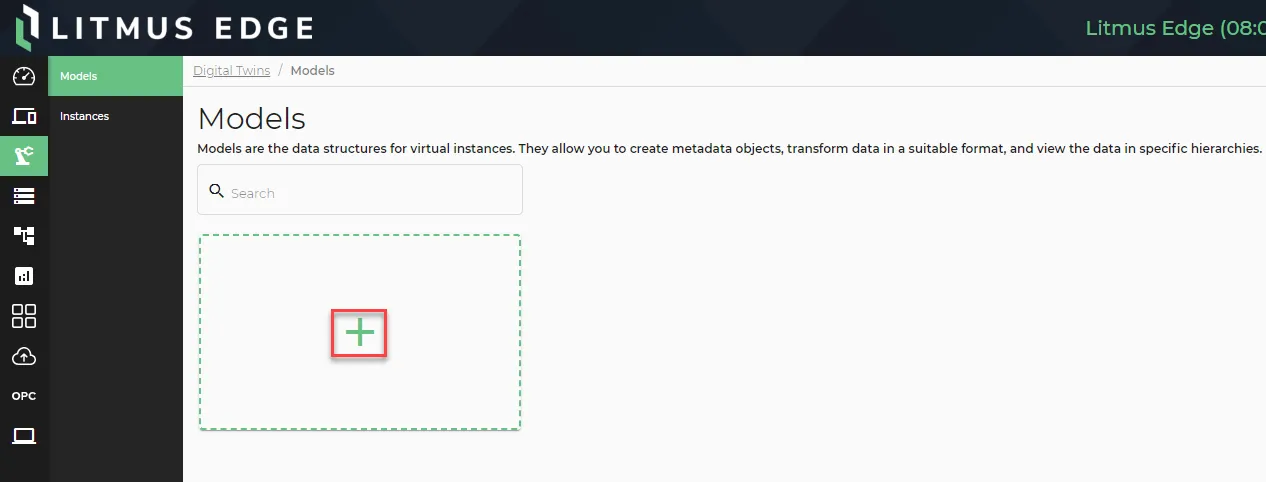 The Create a Model tile
- Click the Type drop-down list and select a model type.
- Enter the name of the model in the Name field.
- (Optional) Enter a short description of the model in the Description field.
- (Optional) If applicable, select the UNS Enabled checkbox and select a UNS connector from the drop-down menu.
- Click Add. A new model tile appears in the Models pane.
Import an Existing Model
You can import a model as a JSON file.
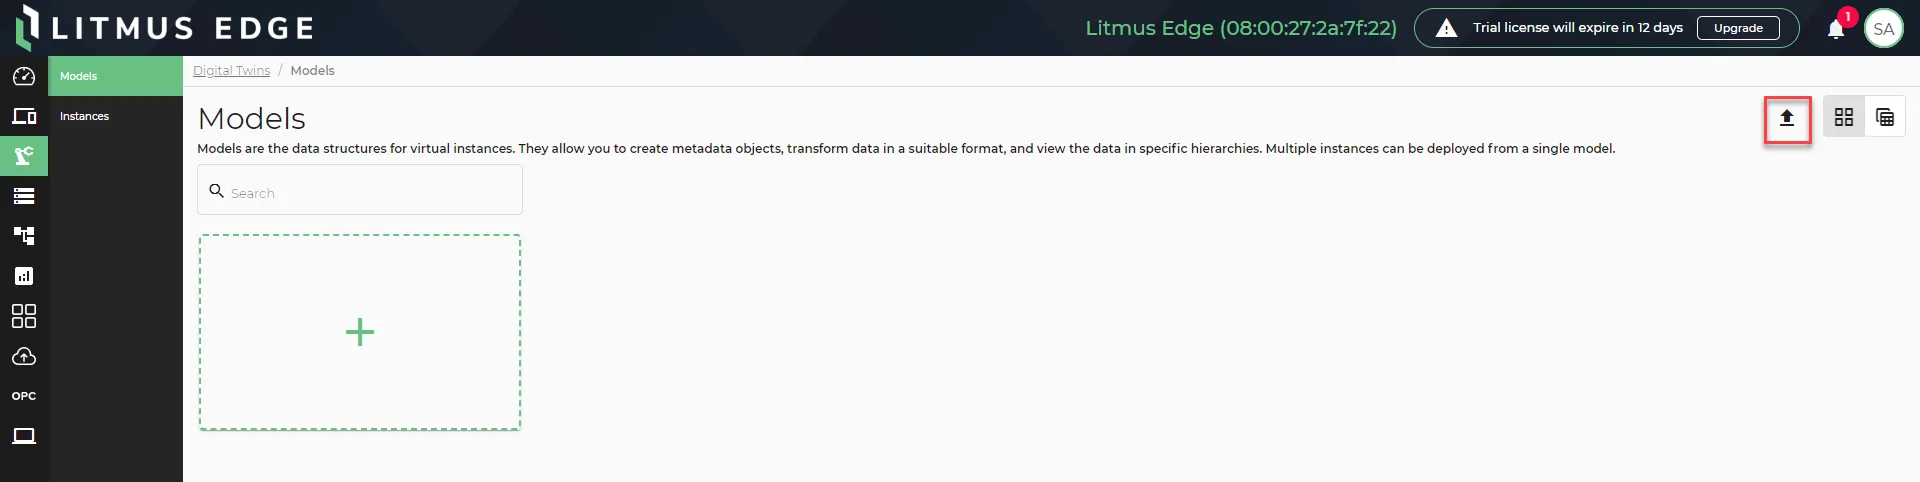
To import an existing model, click the Import Model icon, select the <model name>.json file, and click Open.
Model Versions
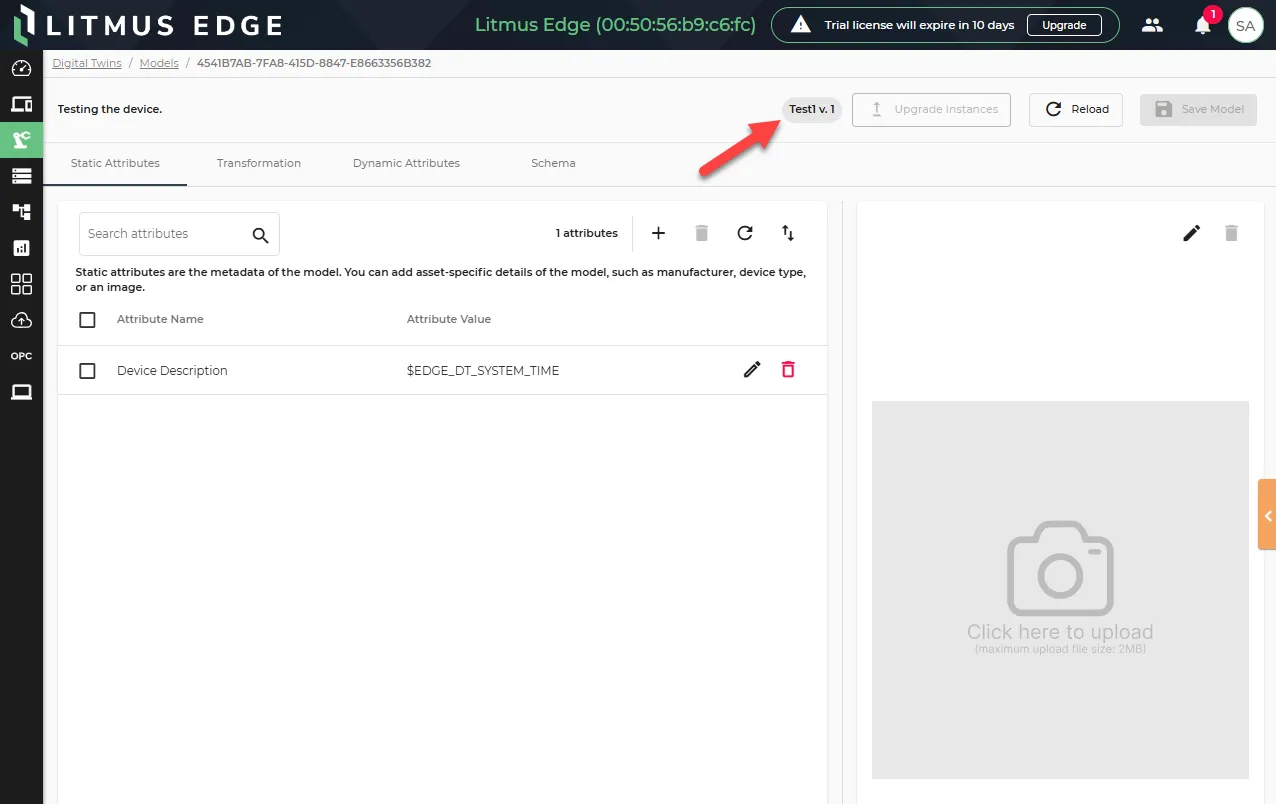
When you create a model, the model version starts at v.0. When you save the model, the version number is updated.
Note: You can identify models sourced from Litmus Edge Manager with a flag.
For Litmus Edge version 3.11.1 and later, the version number is also displayed in the model and instance configuration.
Implement Model Updates to Instances
If there are changes to the model that need to be implemented in associated instances, click Upgrade Instances.
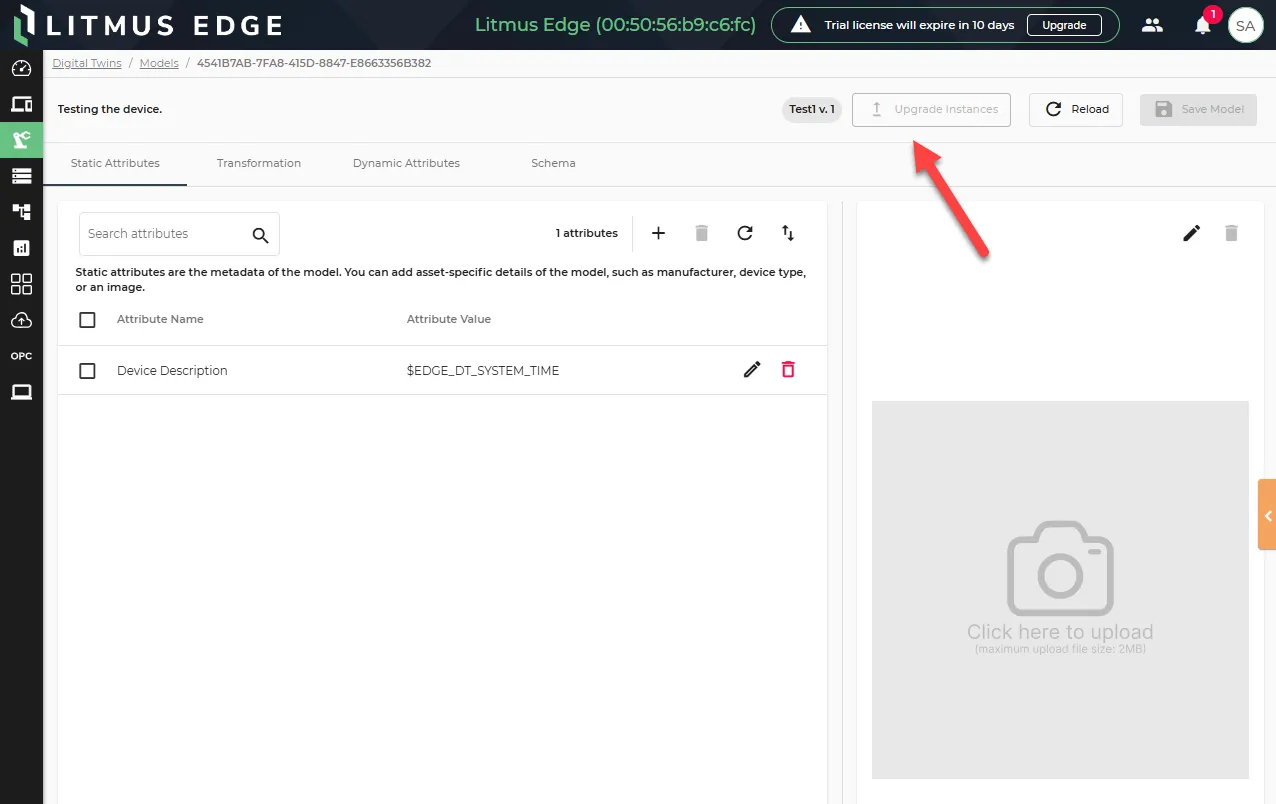
Then, select the instances to upgrade and click Upgrade.
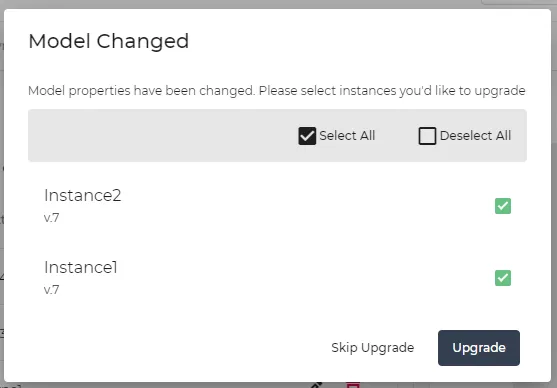
Note: You have the option to update models with instances and select which instances to update as well.
Step 2: Configure Model
After creating the model, you can configure it appropriately for instances.
Click the Model tile (grid view) or Model name (table view) to view the model details.
Model Image
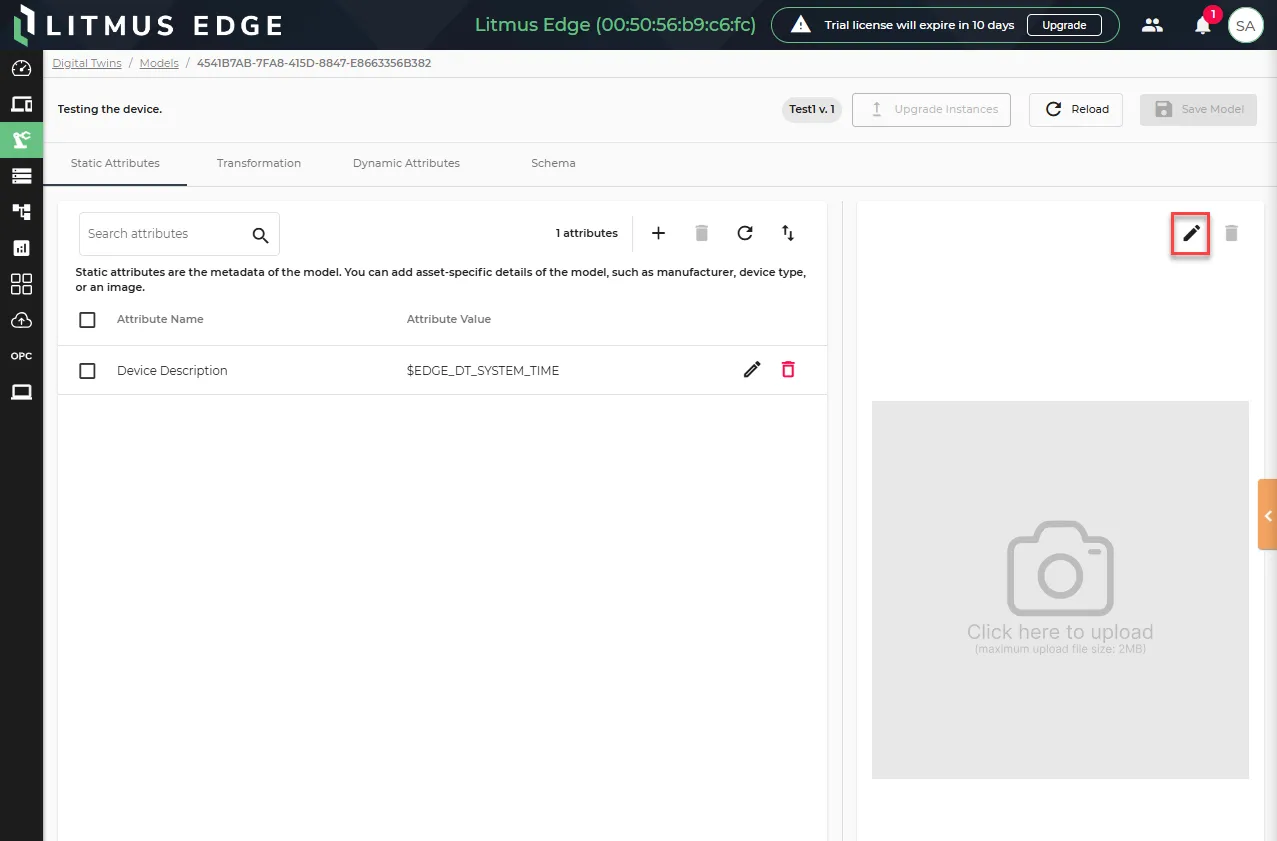
Click the Upload image icon to select an image for the model. The image will display for the model tile on the Models pane.
Static Attributes
Manage the metadata for the model from the Static Attributes tab.
Note: You can create up to 2000 static attributes.
Manually Add Static Attributes
To add static attributes:
- Click the Model tile (grid view) or Model name (table view) to open the model details.
From the Static Attributes tab, click the Add item icon.
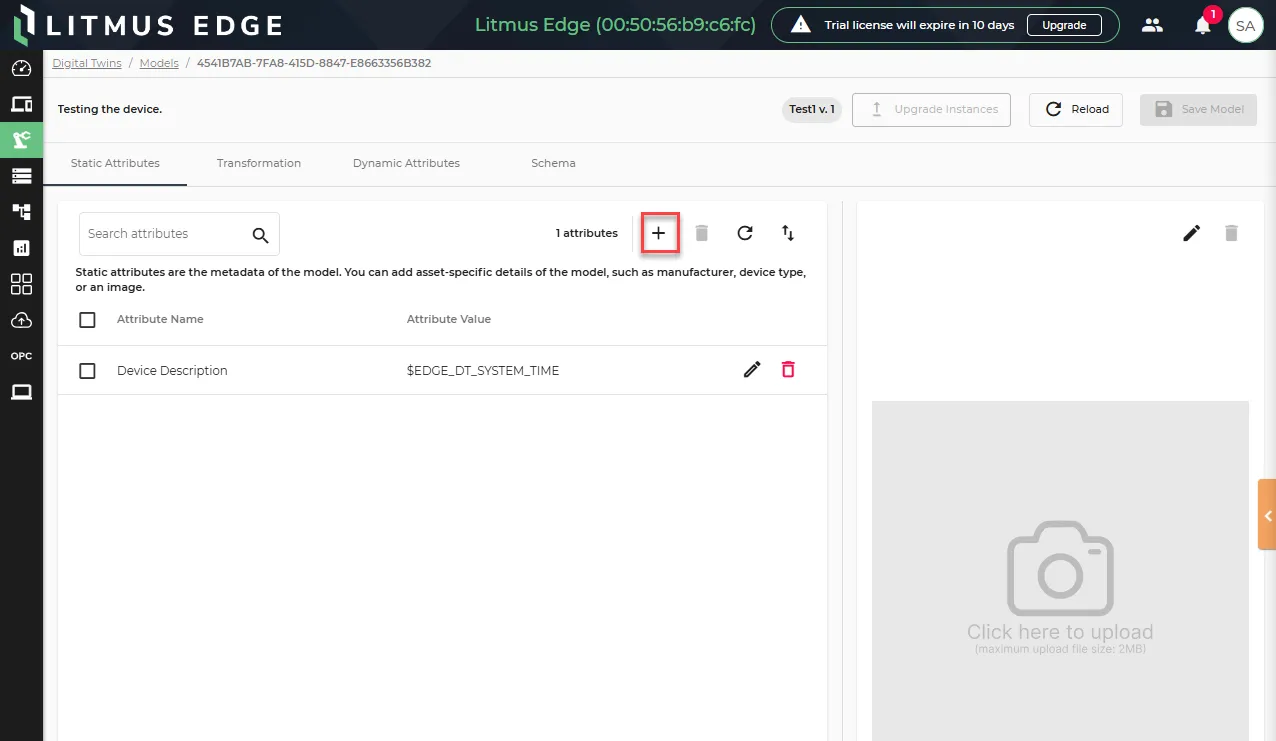
In the Attribute Name field, either select an item from the drop-down list or enter a custom attribute name.
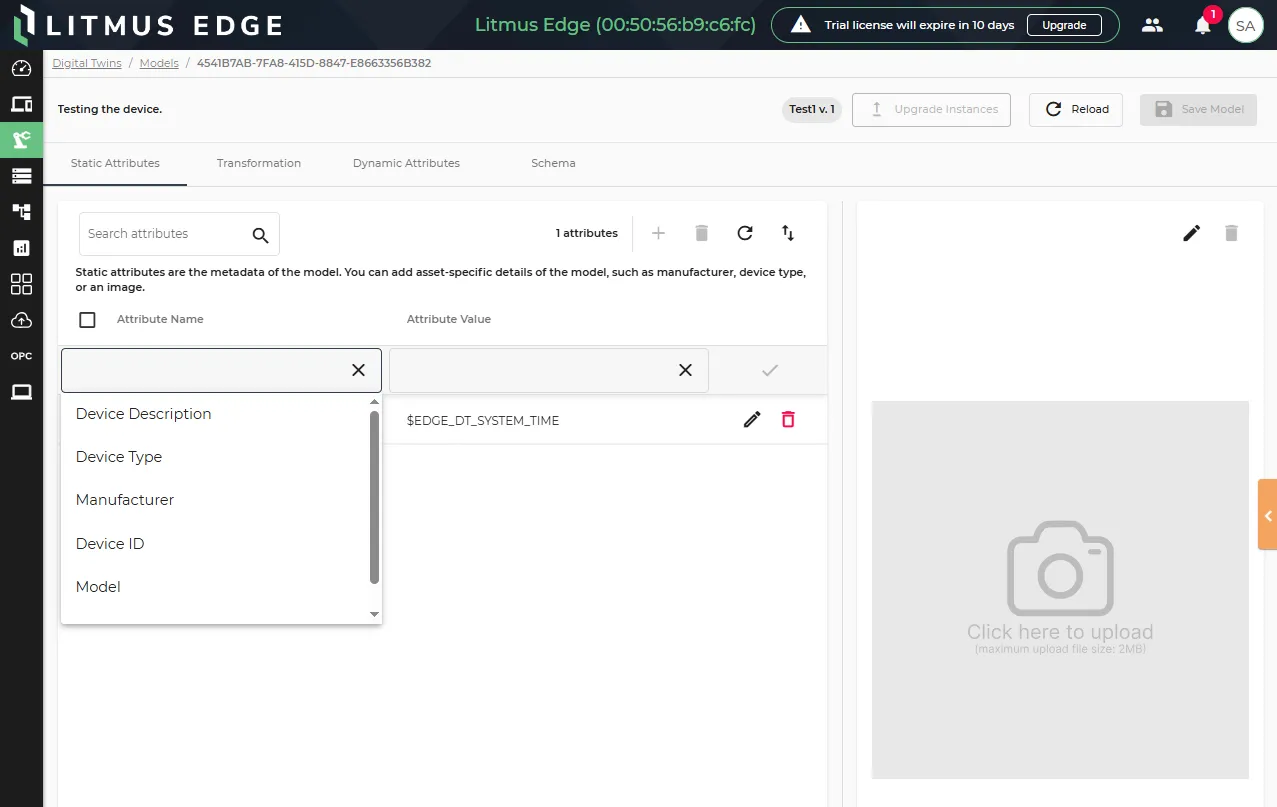
- In the Attribute Value field, enter a value for the model.
- When done adding attributes, click Save Model.
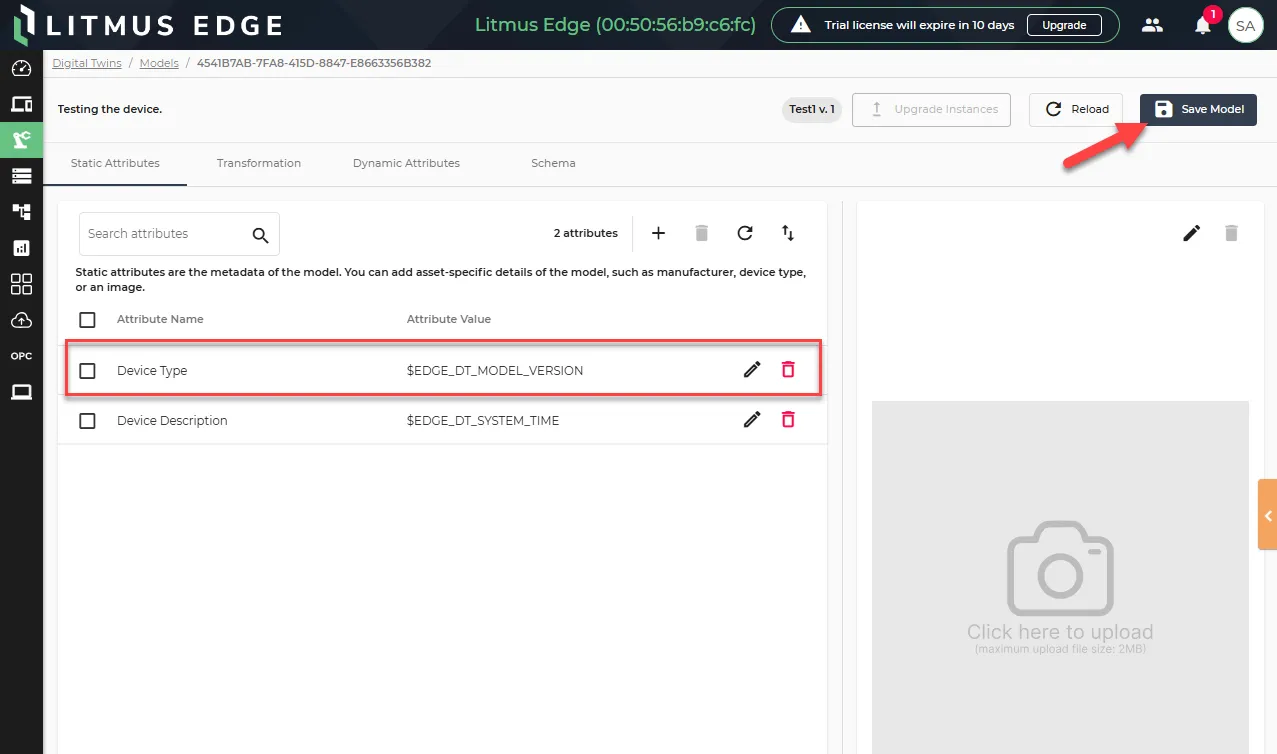
If you need to filter existing attributes, you can use the search field.
Import Static Attributes
To import static attributes, create a CSV file with the following headers.
Required Headers
- ModelName
- Key
- Value
Optional Headers
- InstanceName
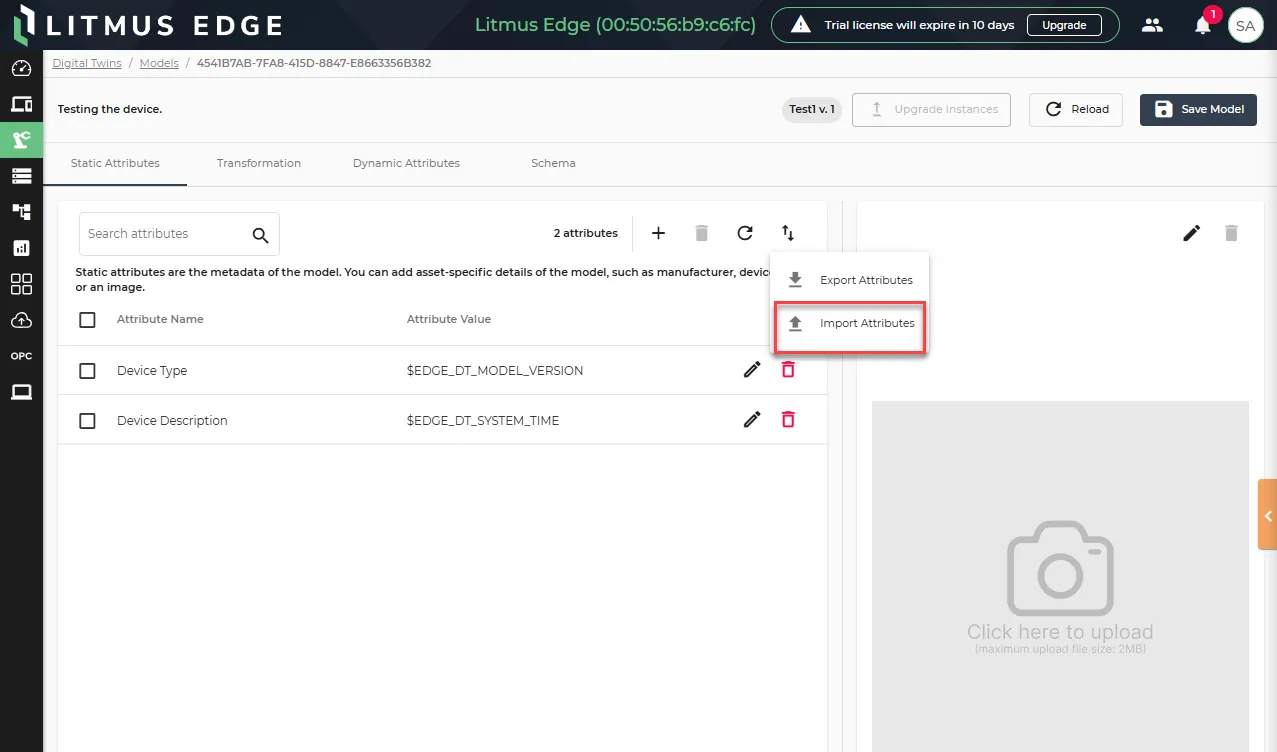
After creating the file, click the model tile, navigate to Static Attributes, and click the Import Attributes icon.
Export Static Attributes
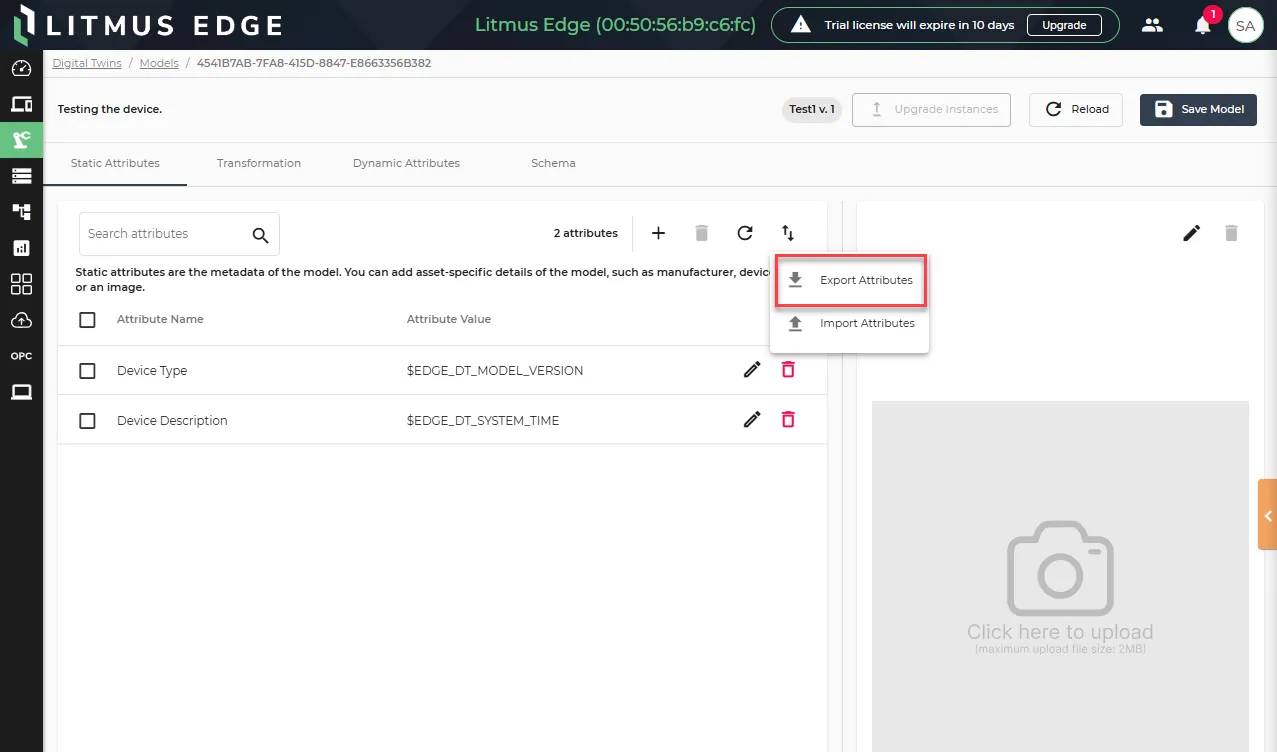
To export a CSV file of existing static attributes, click the Export Attributes icon.
Transformations
Use the Transformation tab to transform the data collected in instances by converting raw JSON data to a desired format by defining the JSON-based schema.
You can define schema IDs, which can be used to manipulate the payload and define a structure for the payload as the model inherits data.
See Use Digital Twins to Contextualize Data to review how to format transformations.
Note: Litmus Edge versions 3.16.1 and above use JSONPath syntax. Incorrect syntax will return NULL values. You can see examples of nested keys in Digital Twin guide.
Note: If you update a transformation and remove all elements from the schema, the entire NATS message will be included in any dynamic attribute that has the transformation selected for the Schema ID.
Arrays
You can configure arrays in transformations.
For example:
{
  "key": [
    "$timestamp",
    "$value",
    "$metadata",
    {
      "key2": "$timestamp",
      "key3": "$value",
      "key4": "$metadata"
    }
  ],
  "key5 new": "$timestamp"
}
Configure Transformations
To add a transformation schema:
- Click the Model tile (grid view) or Model name (table view) to open the model details.
- Click the Transformation tab.
Click the Add a Schema icon. The Add dialog box appears.
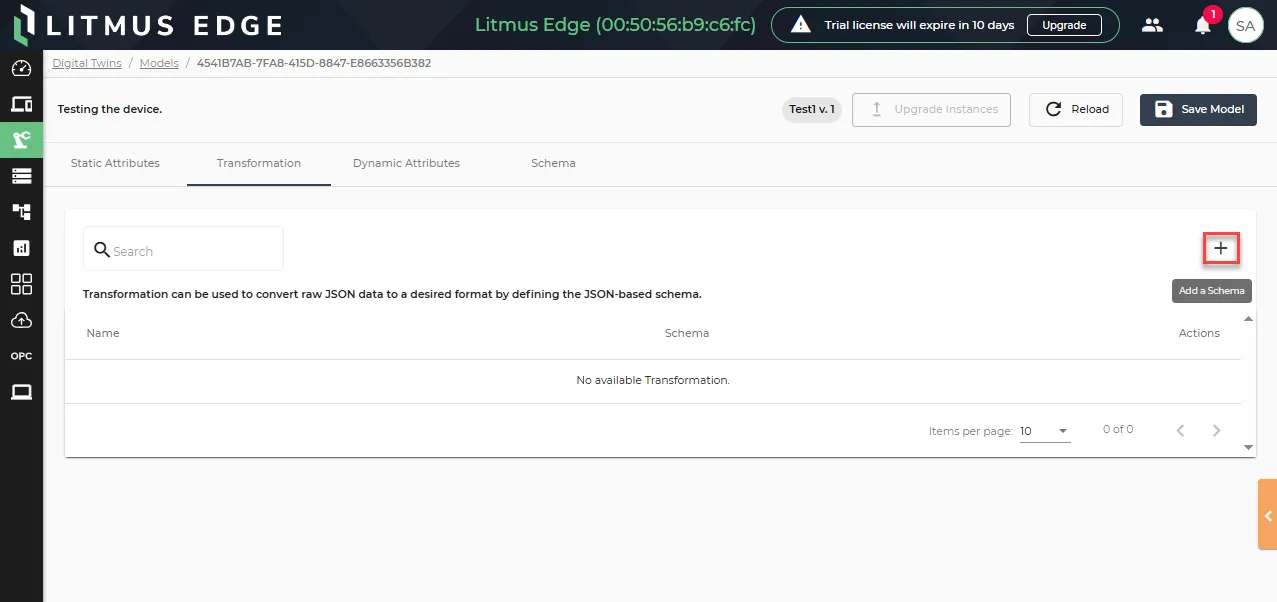
- Enter a name for the schema.
- Select from JSON from Schema Type drop-down menu.
- In the code window, copy and paste the JSON-based schema.
- (Optional) You can use the System Variables in the code drawer.
- Click Add.
- When done adding attributes, click Save Model.
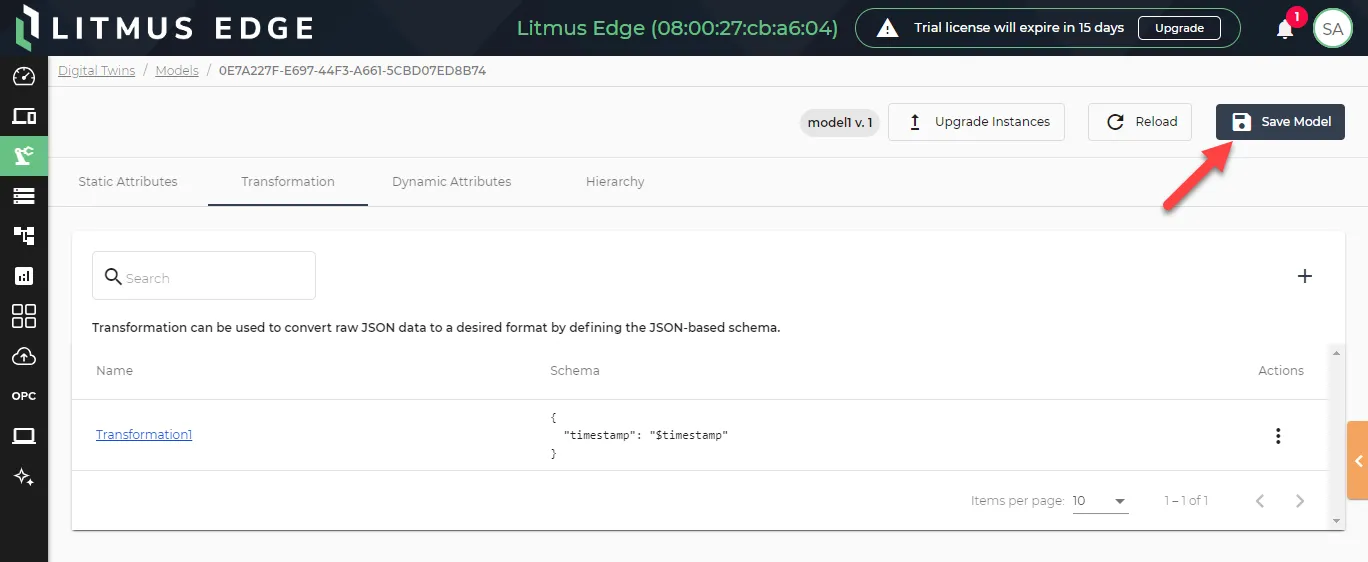
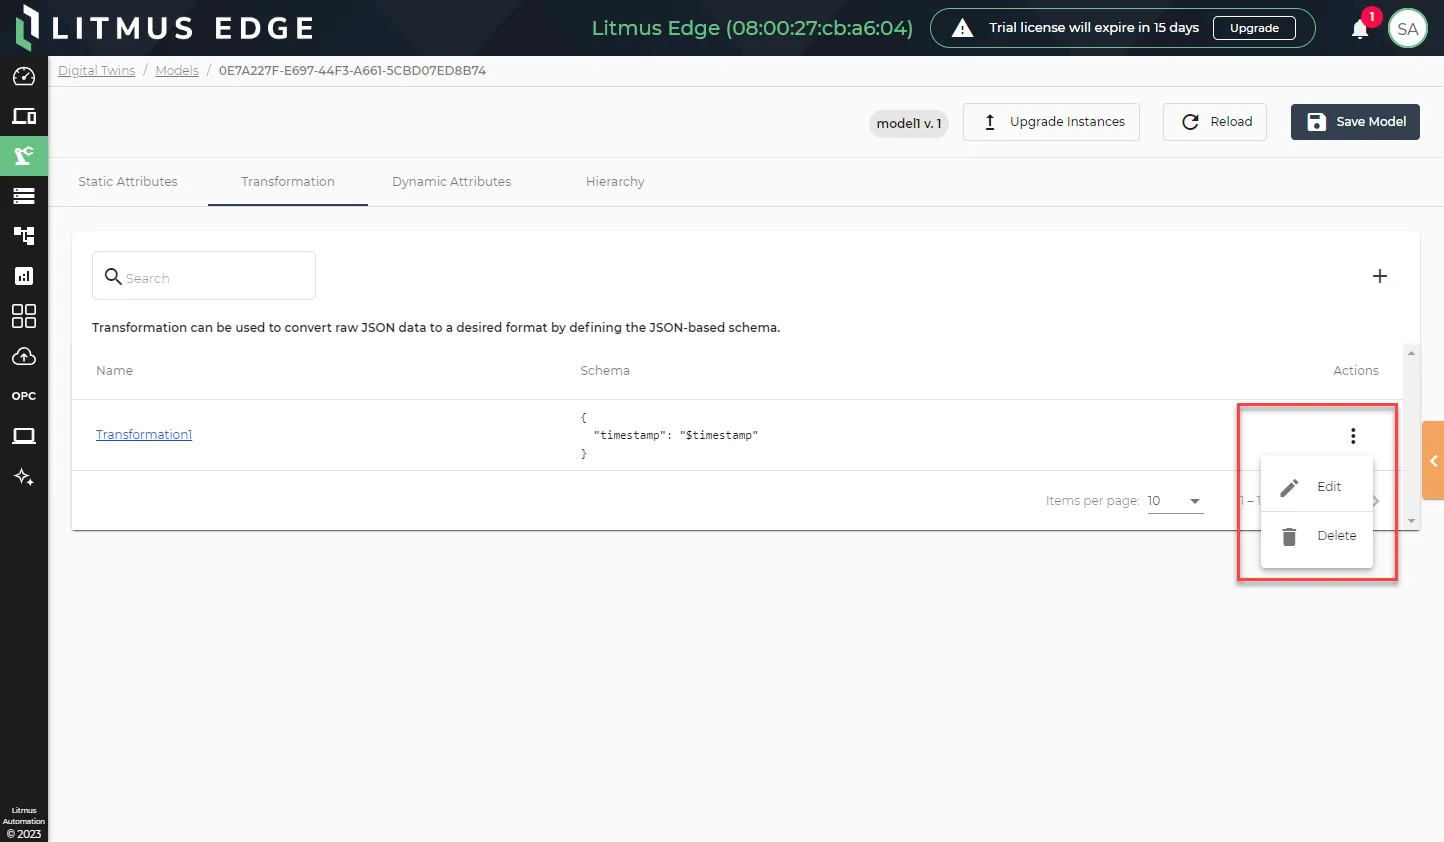
To edit or delete a schema, click the Action menu for the schema and select an option.
Dynamic Attributes
Manage variable data in the model from the Dynamic Attributes tab. You have the option of adding a schema ID, which can be used to map dynamic attributes one-to-one for data transformation.
Note: You can create up to 2000 dynamic attributes.
Manually Add Dynamic Attributes
To add a dynamic attribute:
Click the Add item icon.
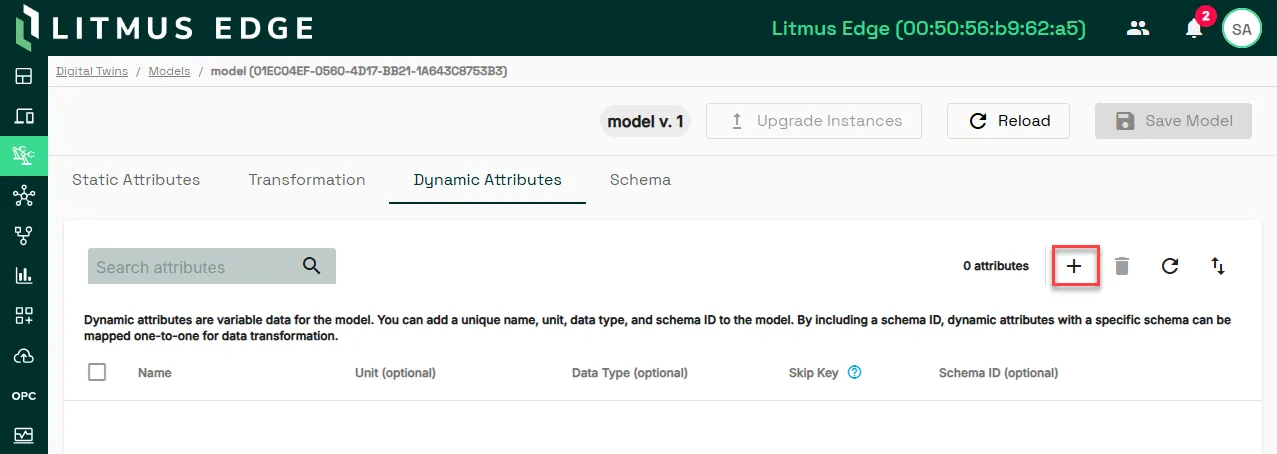
- In the Name field, enter a name for the attribute.
- (Optional) Enter a value for Unit and select a Data Type.
- The Skip Key option is only available when the Data Type is set to JSON.
- (Optional) If you've created data transformation schemas, select one from the SchemaID field.
- When done adding attributes, click Save Model.
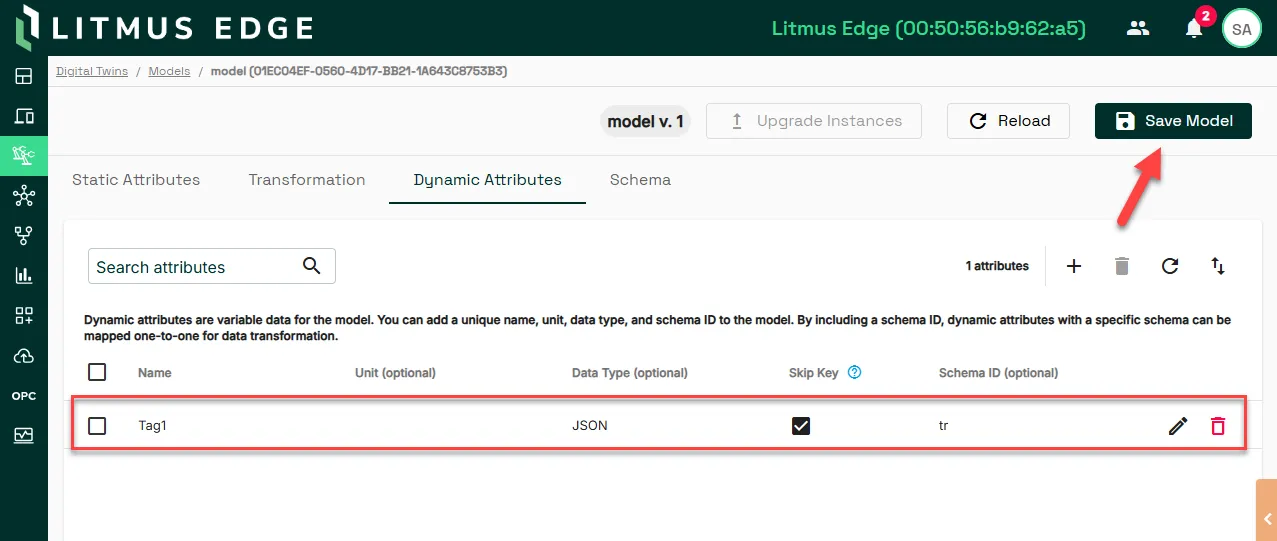
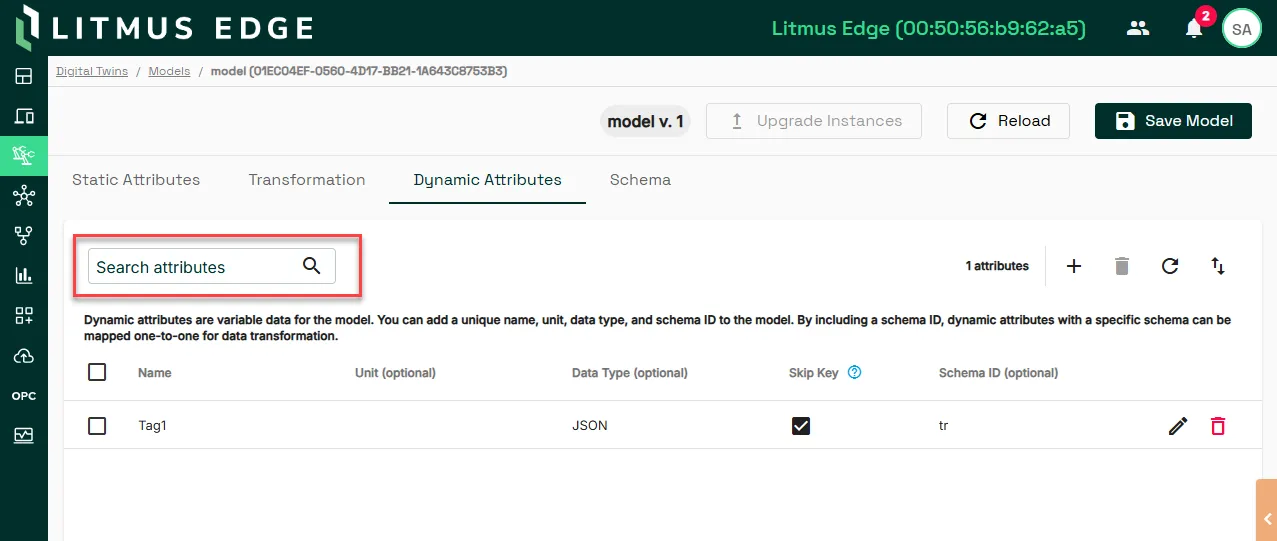
If you need to filter existing attributes, you can use the search field.
Import/Export Dynamic Attributes
To import dynamic attributes, create a CSV file with the following headers.
Required Headers
- ModelName
- SchemaID
Optional Headers
- InstanceName
- Topic
- Name
- Unit
- DataType
After creating the file, click the model tile, navigate to Dynamic Attributes, and click the Import Attributes icon.
To export a CSV file of existing dynamic attributes, click the Export Attributes icon.
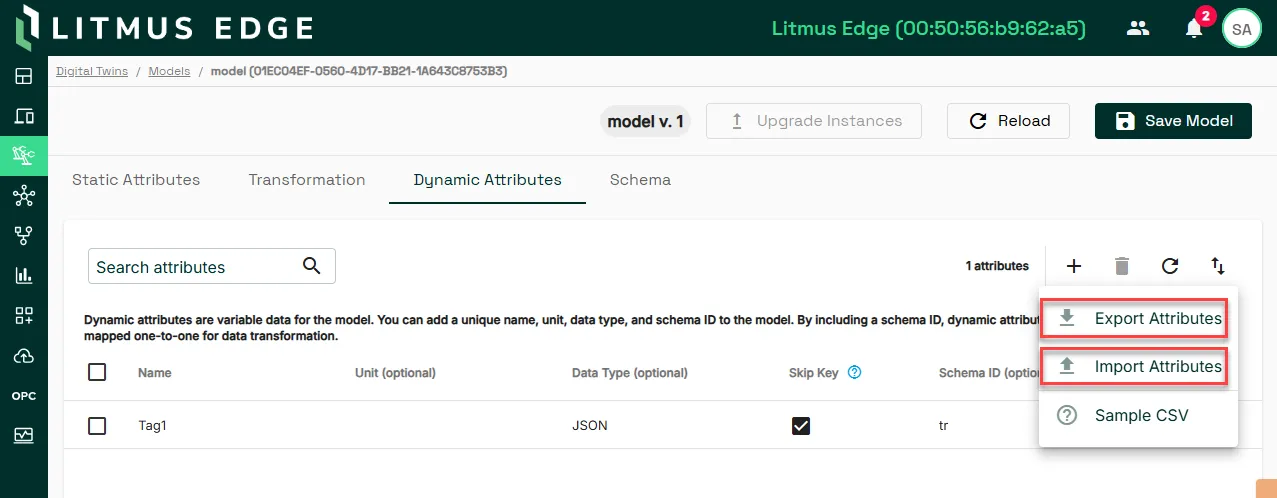
Note: Check the Sample CSV here.
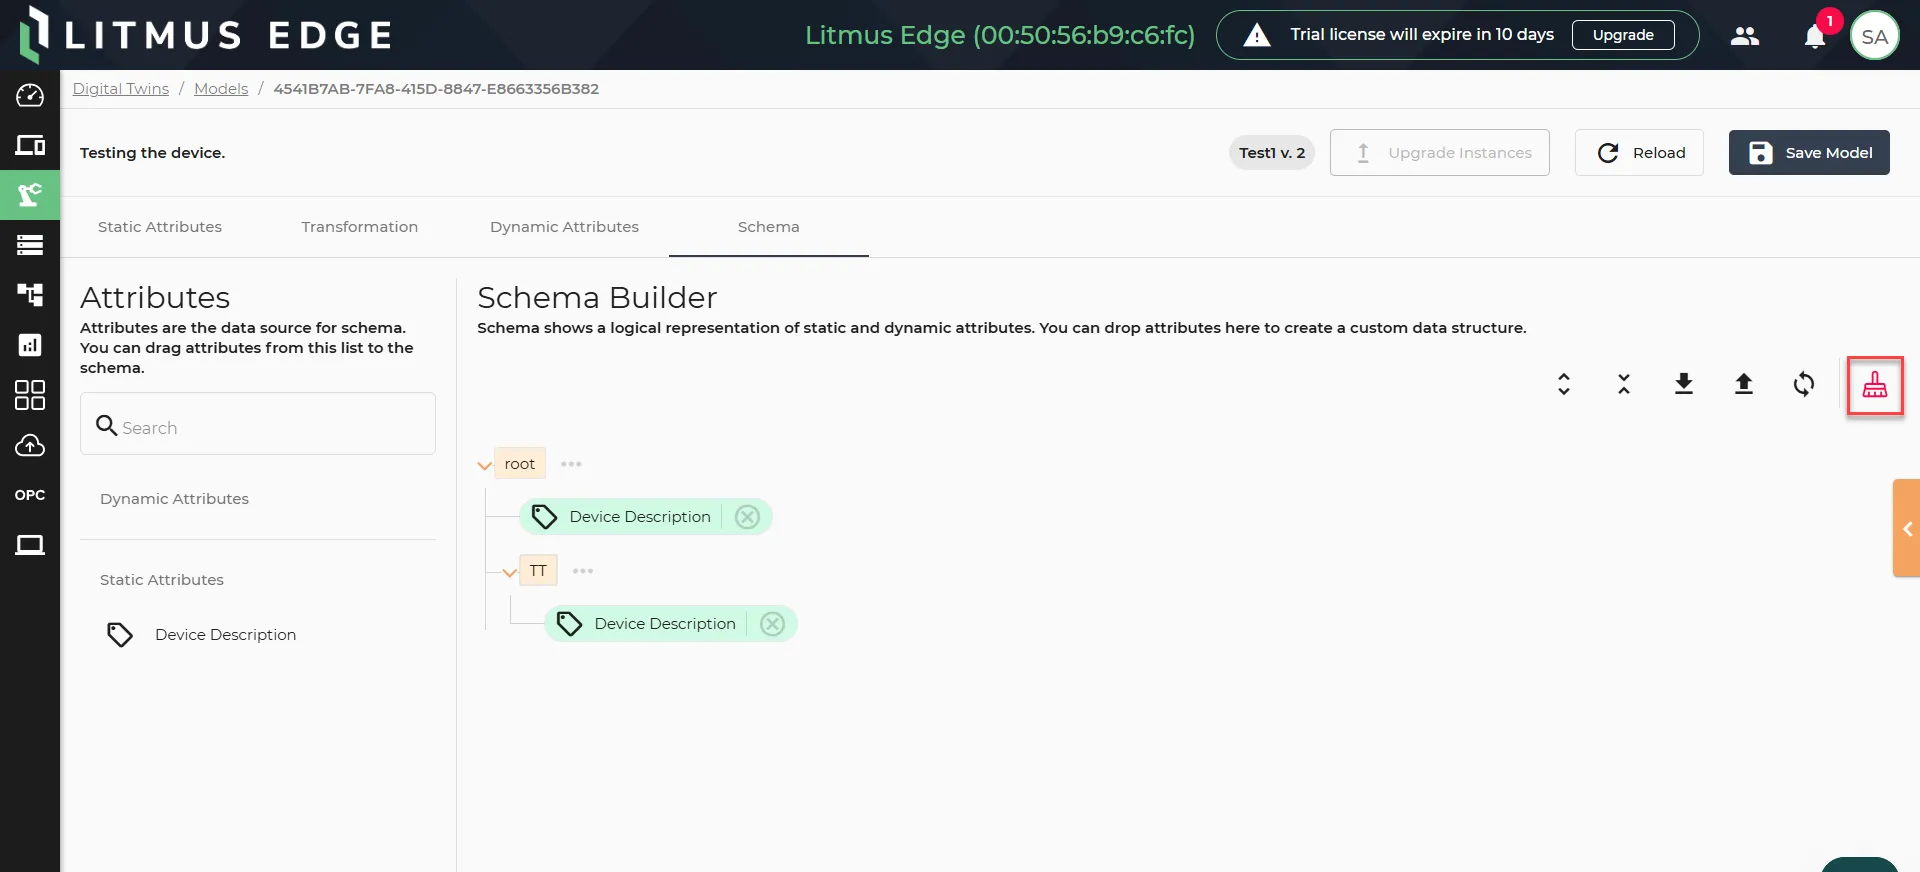
Schema
Use the Schema tab to create a custom data structure for the model.
Note: Clicking the Save Model button will increment the version number, even if no changes are made.
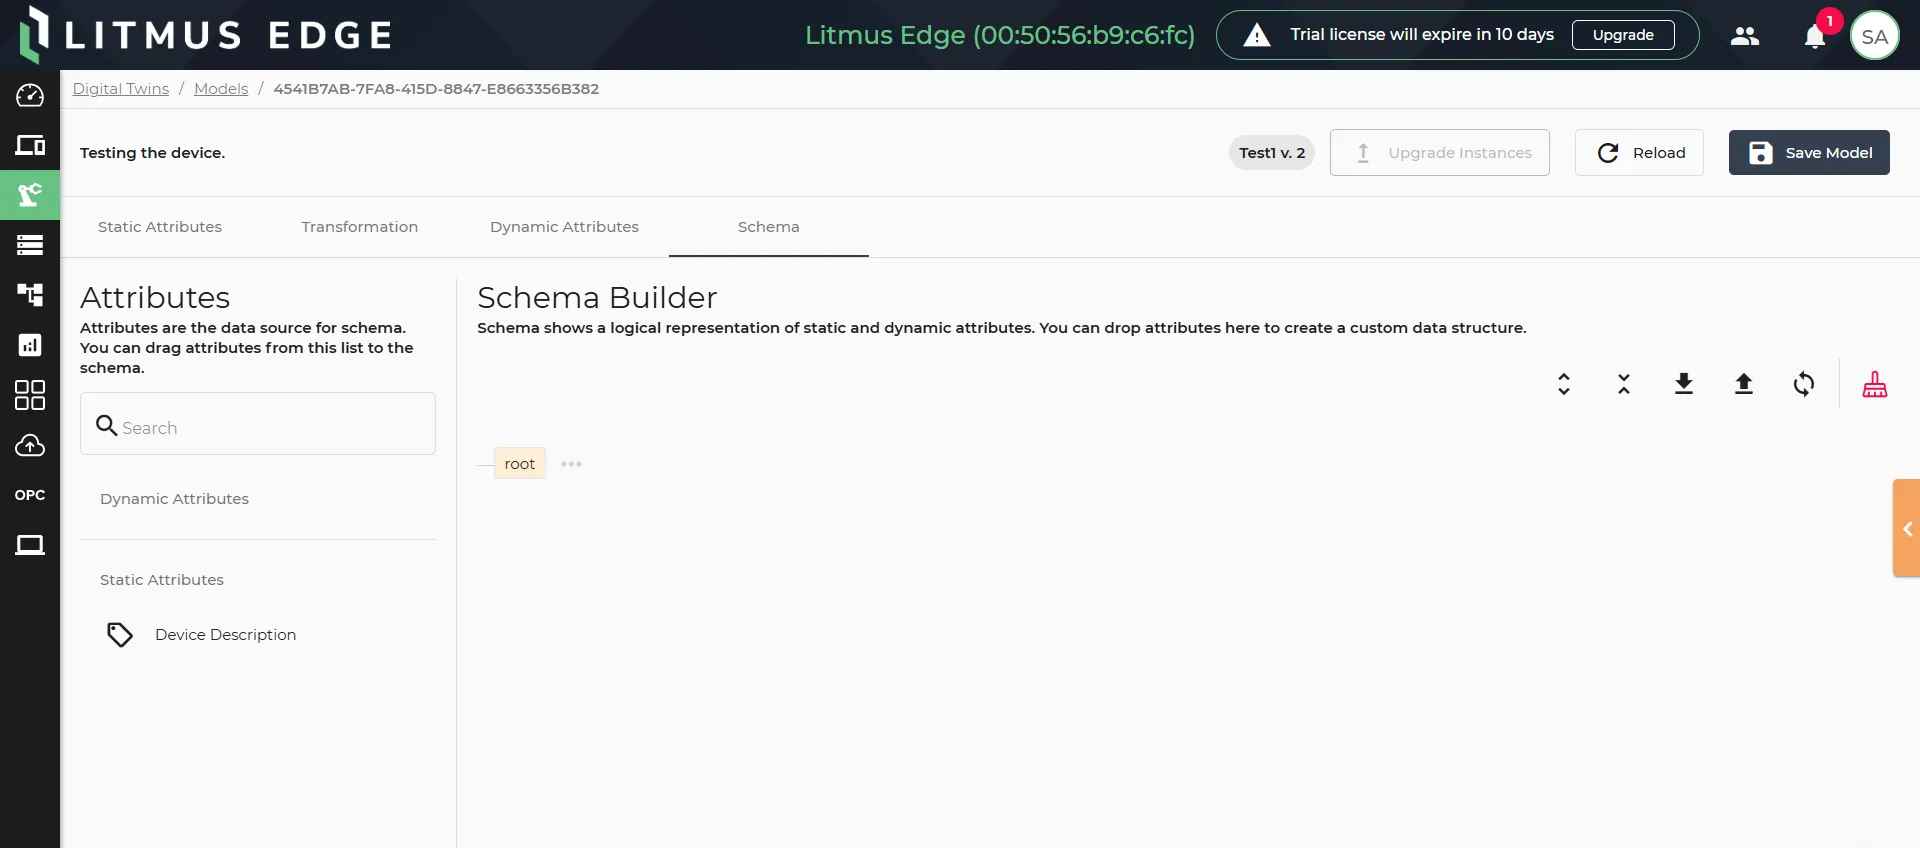
To create a category for the schema, click the Action menu icon for root and select Add Node.
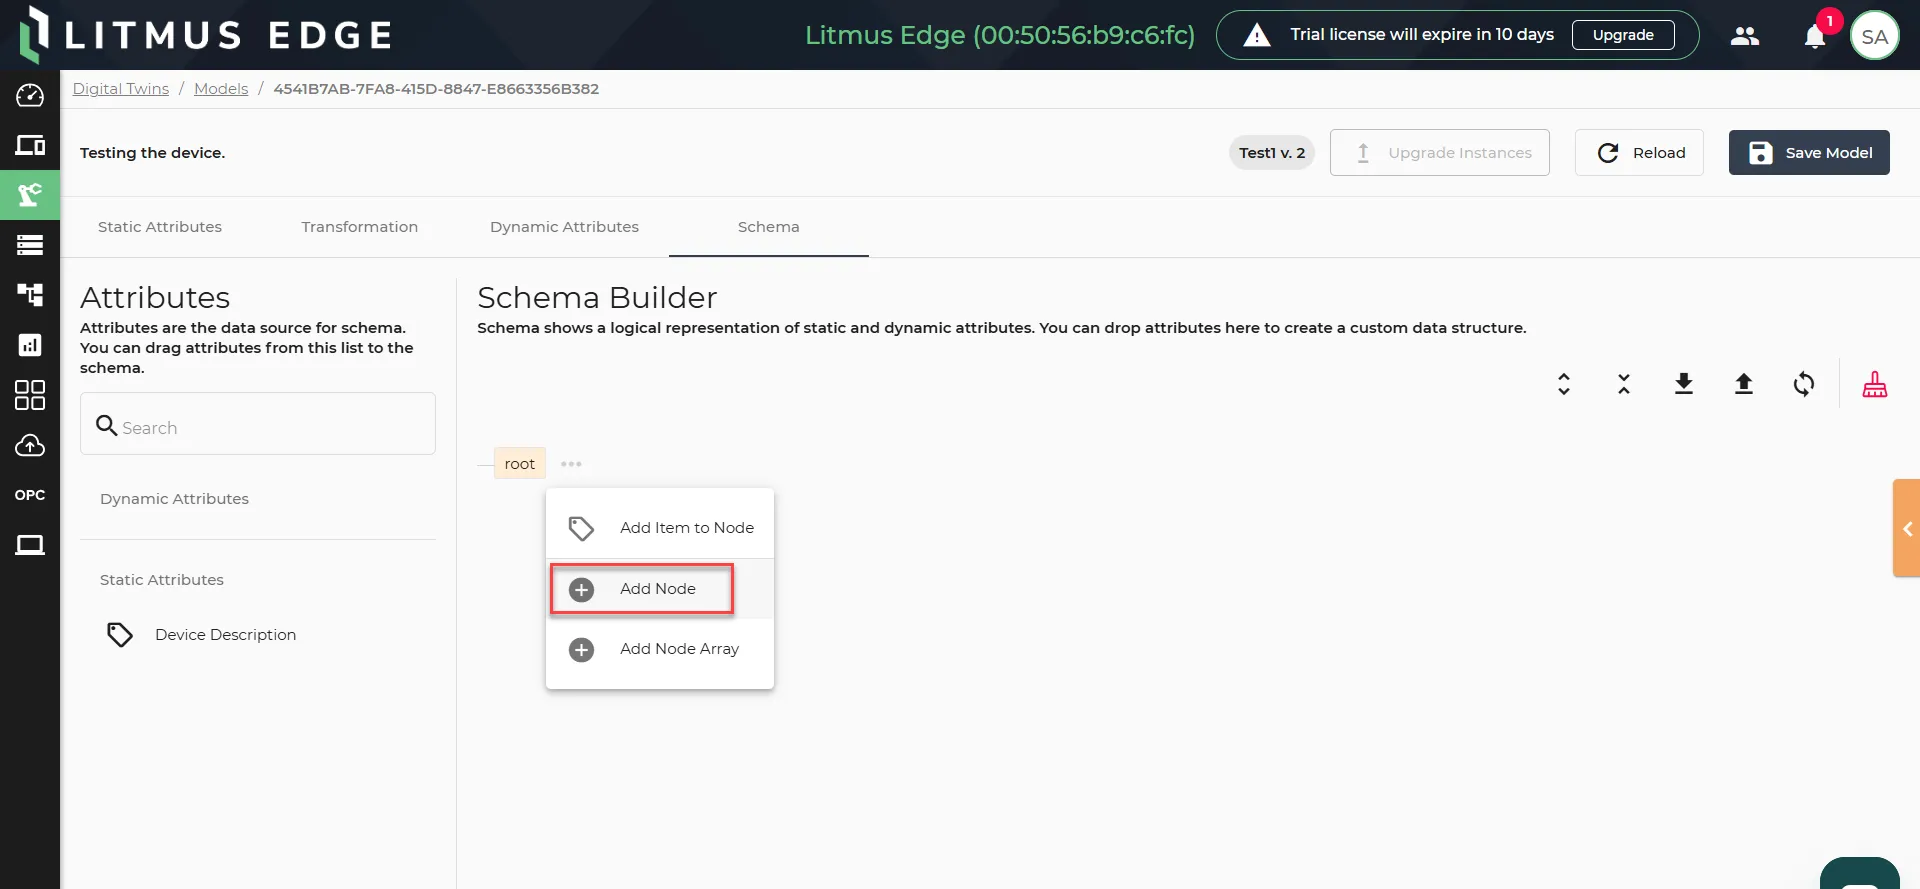
To add attributes to the schema, do one of the following:
- Drag and drop attributes from the left-hand list to the canvas under the appropriate category.
- Click the Action menu for a category and select Add item to Node. Then, select the attribute to add.
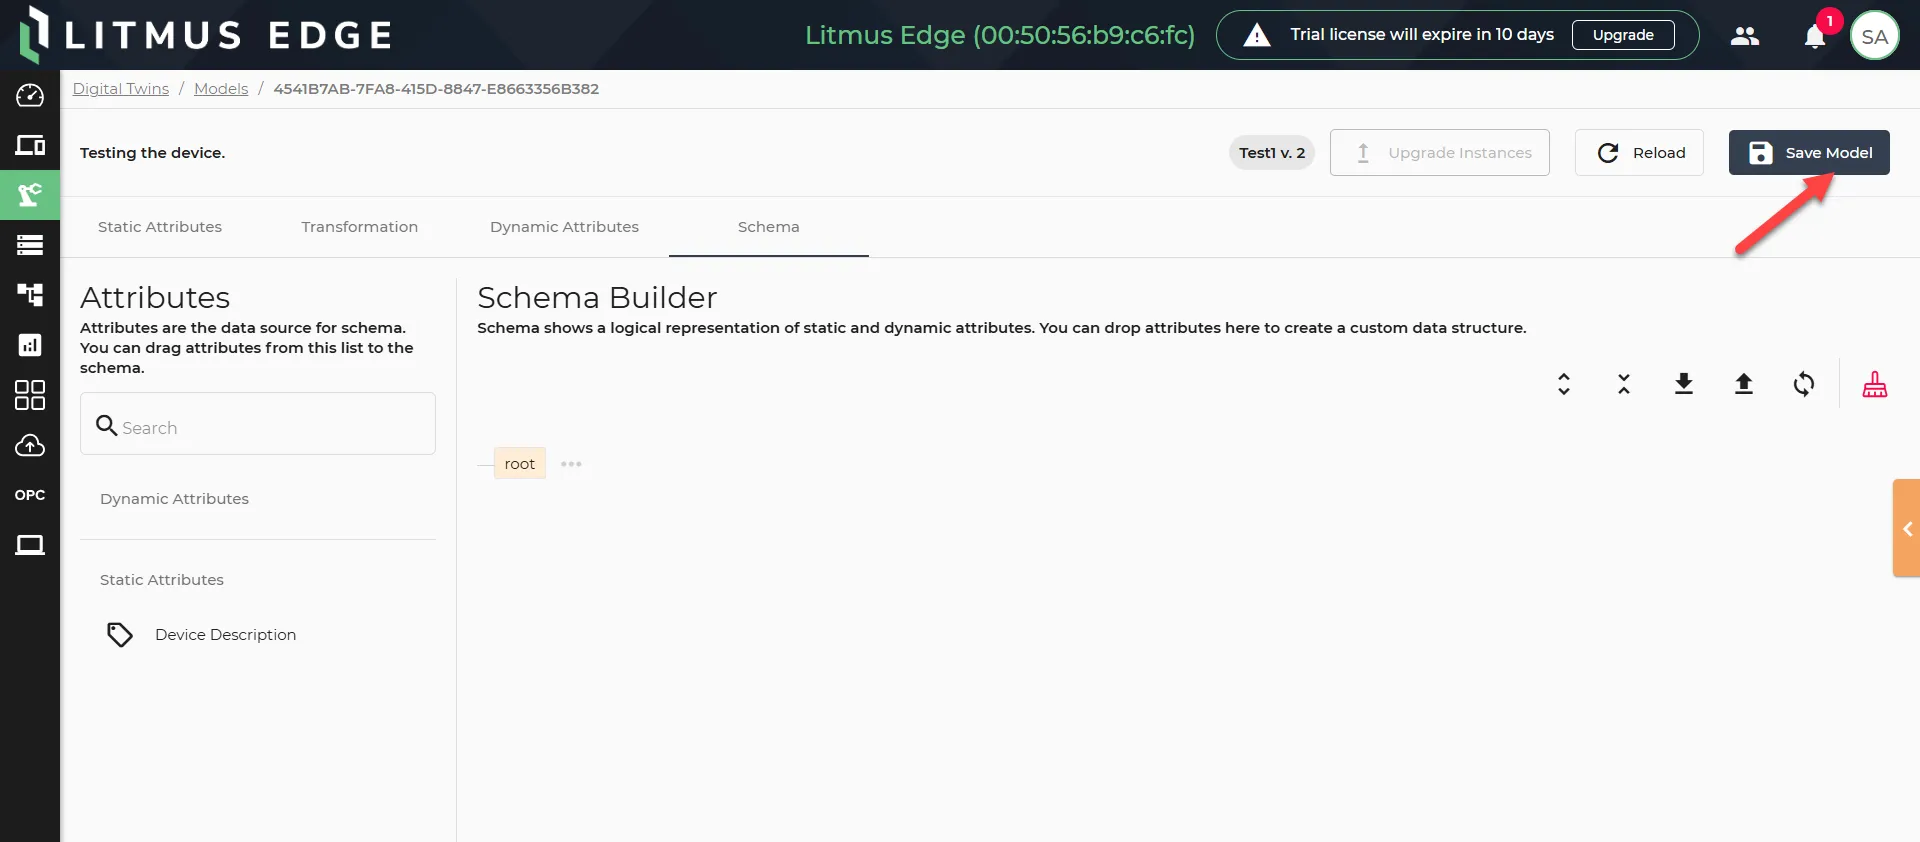
When done configuring the schema, click Save Model.
Import Schemas
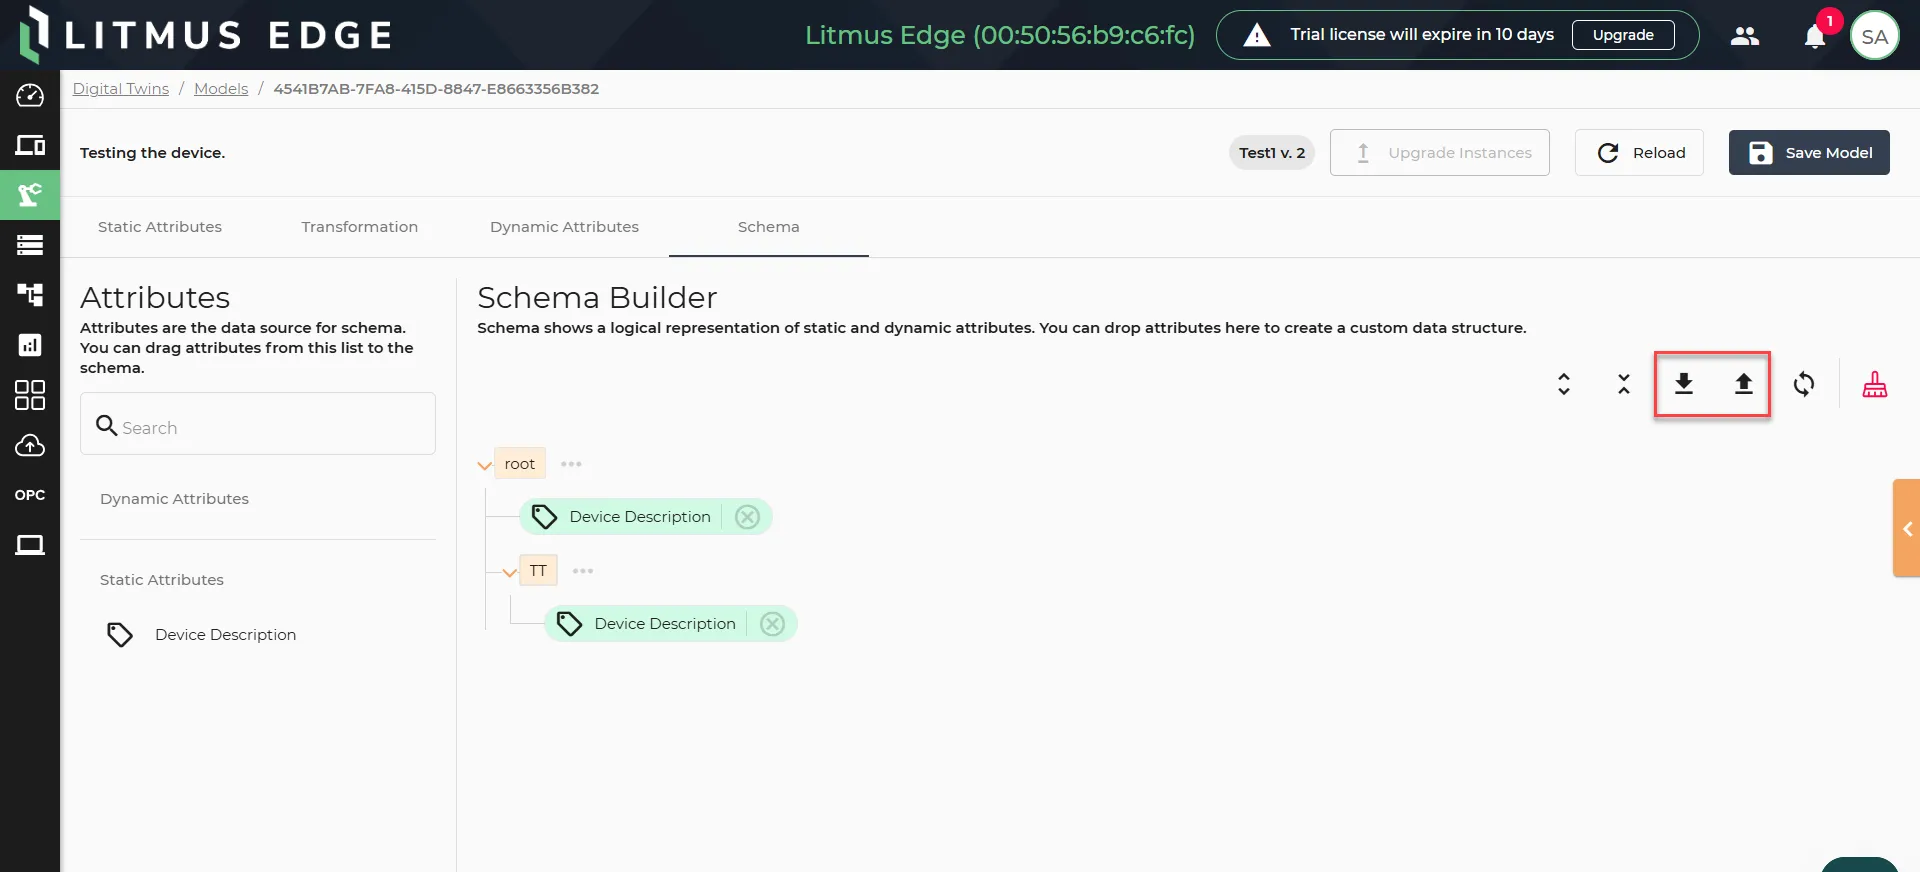
To import a CSV file of a schema, create a CSV file with the following headers:
- ID
- ModelID
- Position: Enter the position of the attribute in the schema.
- ParentID: If the attribute is under a node/category, enter the ParentID of the node. To get the ParentID, create a new node, export the schema, and then refer to the ParentID column.
- Name: The name of the attribute.
- IsFolder: If it is an attribute, the value is FALSE. If it is a node, the value is TRUE.
- AttributeID
- AttributeType
Export Schemas
To export a CSV file of an existing schema, click the Export Schema icon.
Sync Attributes
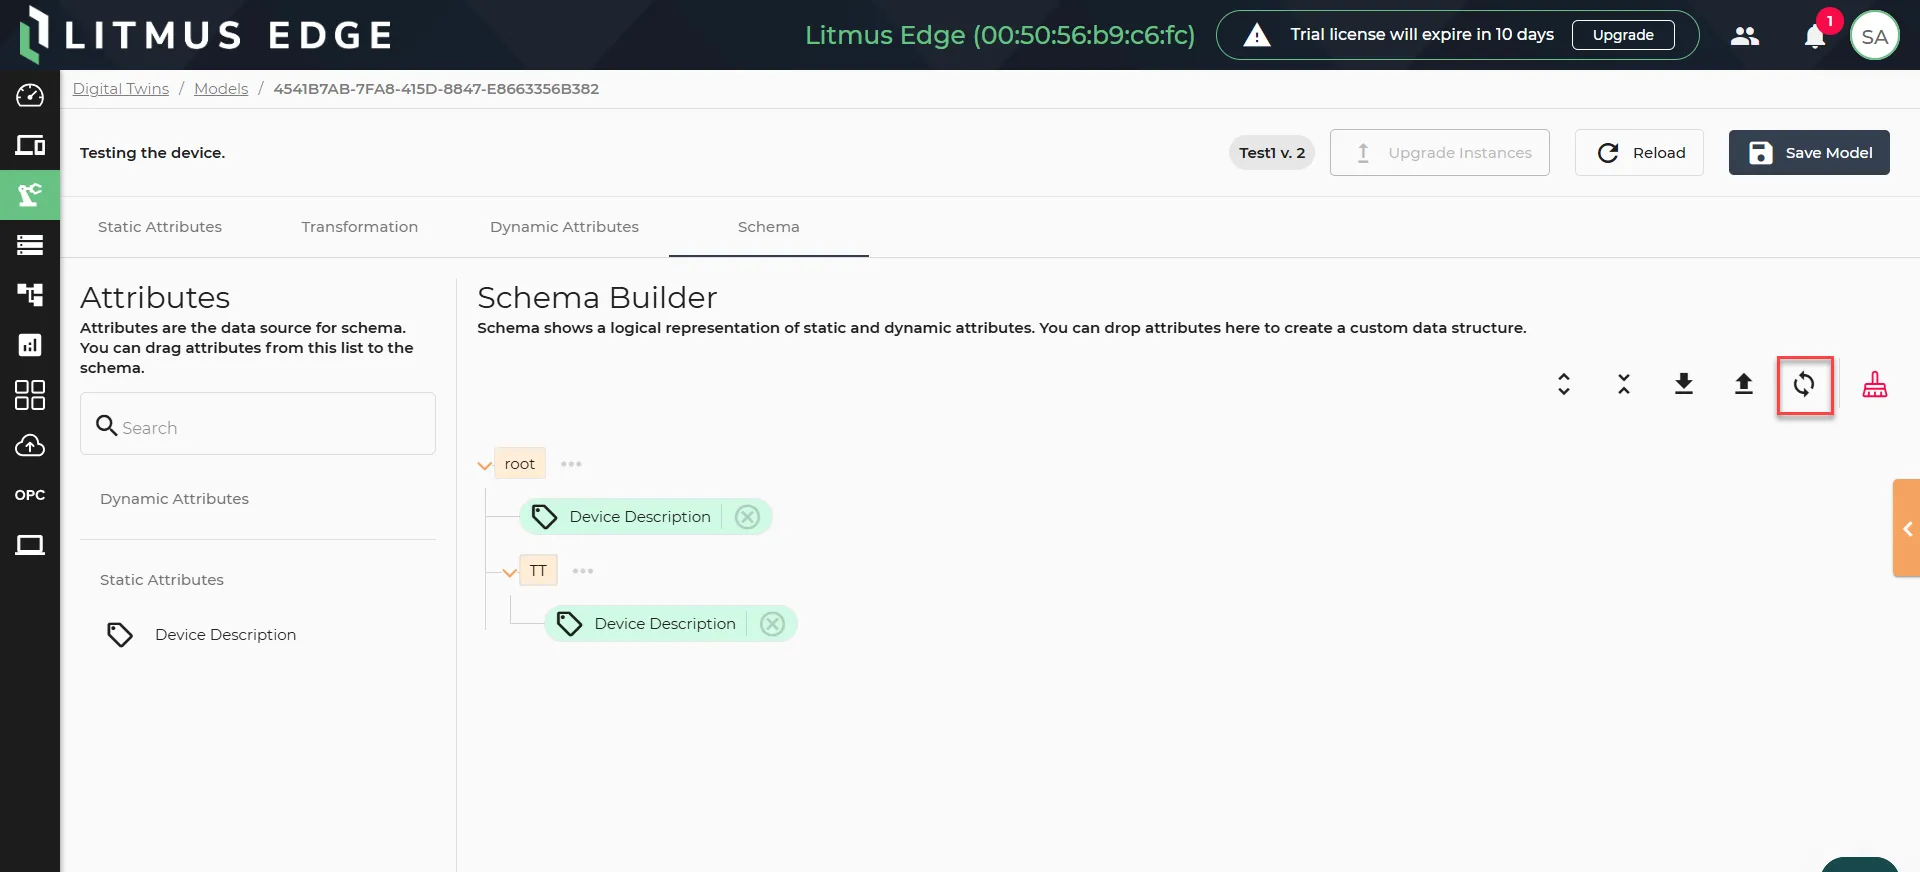
To sync the existing schema, click the Sync Attributes icon.
All attributes will be appended to the current hierarchy. If they exist, the static_attributes and dynamic_attributes nodes will be recreated.
If you wish to proceed, then click Yes.
Clear Schema
To clear the schema builder tree, click the Clear Schema icon. The model must be saved for the changes to take effect.