Deployment of Litmus Edge Manager on Azure
You can deploy Litmus Edge Manager directly from the Azure Marketplace. Choose between the consumption and site deployment models depending on your licensing preferences and infrastructure requirements. The key differences involve licensing, billing, and access control.
Important for Cloud Deployment: Before you activate the license, make sure all hardware or VM configuration steps are complete—including adding or replacing network interface controllers (NICs). Changing the VM hardware configuration after licensing may invalidate your license settings.
Consumption Model
The Consumption Model is designed for organizations that want a fully managed deployment with automatic licensing and usage-based billing. With this model:
- Your license is automatically activated when you deploy and is valid for five years from deployment.
- Your tag usage is tracked and billed through Azure Marketplace.
- Litmus maintains the virtual machine through a managed resource group.
- You have limited access to the underlying VM infrastructure.
Site Model
The Site Model gives you full control over your infrastructure and requires you to manage your own licensing. With this model:
- You deploy the infrastructure but no license is included. You request a license separately from the Litmus Account team.
- Tag consumption is not monitored or billed.
- You maintain full control over your virtual machines. Litmus has no access to your environment.
Comparison of Models
| Consumption Model | Site Model |
|---|---|---|
License | Automatic (valid for 5 years | Request from Litmus team |
Billing | Usage-based (tags reported to Azure) | Request from Litmus team |
VM access | Limited customer access | Full customer access |
Litmus access | Full access via managed resource group | No access |
Tag monitoring | Tracked and billed | Not monitored |
Before you begin
For Site model deployments:
- Request a license from the Litmus Account team before deployment
For both deployment models:
- Ensure you have access to Azure Portal
- Review the System Requirements for sizing guidance
- Review the Firewall Port Configuration Requirements
- If deploying on an existing network, grant the Network Contributor role on the subnet to the MS App service principal:
az role assignment create \
 --assignee "<user-or-sp-id>" \
 --role "Network Contributor" \
 --scope "/subscriptions/<subscription-id>/resourceGroups/<resource-group>/providers/Microsoft.Network/virtualNetworks/<virtual-network-name>/subnets/<subnet-name>"
where:
- <user-or-sp-id> is the object ID of the user, group, or service principal (for example, principal ID of a managed identity)
- <subscription-id> is the ID of the Azure subscription that contains the resource group
- <resource-group> is the name of the resource group that contains the virtual network
- <virtual-network-name> is the name of the virtual network that hosts the subnet
- <subnet-name> is the name of the subnet to which you assign the Network Contributor role
Deploy Litmus Edge Manager
The deployment process is similar for both models. The main difference is which offering you select in the Azure Marketplace.
Step 1: Find Litmus Edge Manager in Azure Marketplace
- Log in to Azure portal.
- Select Create a resource.

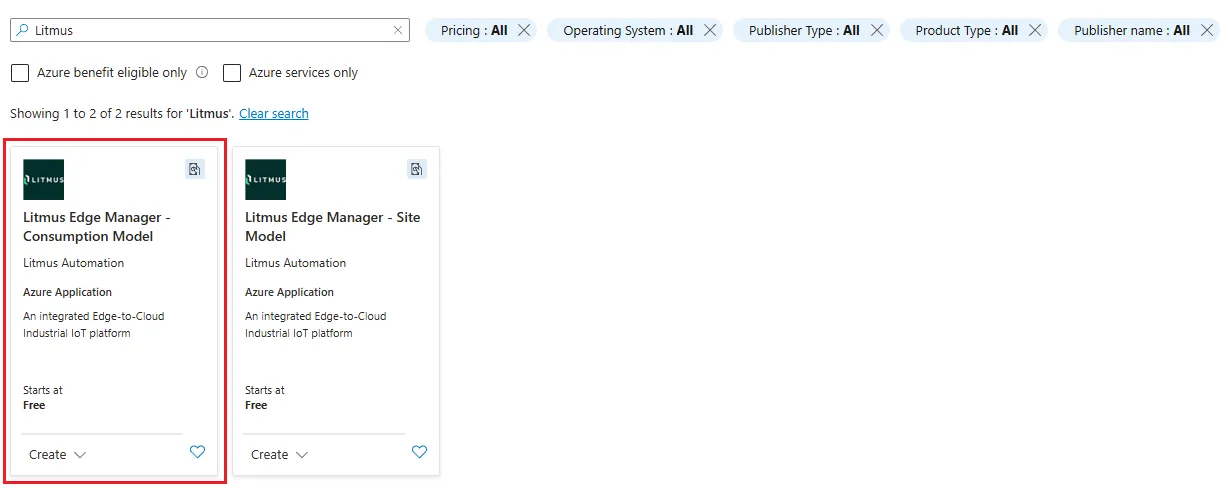
- In the Search services and marketplace bar, enter Litmus.

- From the search results, select the consumption or site model:
- Litmus Edge Manager - Consumption Model for usage-based billing
- Litmus Edge Manager - Site Model for customer-managed licensing
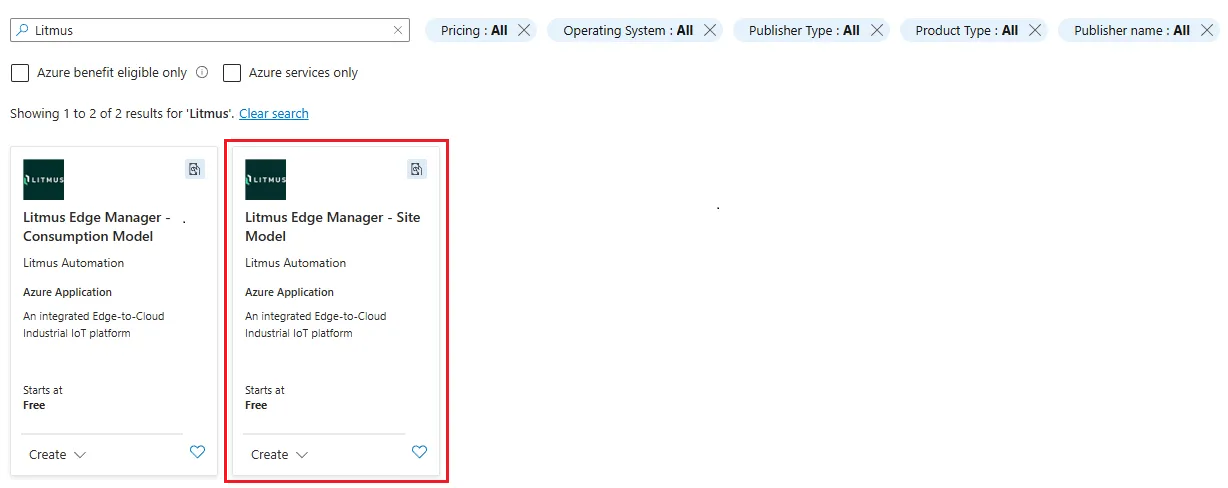
- Click the card and navigate to Litmus Edge Manager - Site Model or Litmus Edge Manager - Consumption Model.
- In the Litmus Edge Manager - Configuration Model or Site Model page, define the following settings:
- Resource Group: Define a resource group for deployment.
- Region: Define a region for deployment.
- Size: See the System Requirements Documentation for minimum & recommended sizing.
- Managed Resource Group: Select managed resource group from the options.
- Click Review + Create.
- Review your configuration, then agree to the Terms & Conditions and provide contact information on the next page.
- Click Create.

- Check the inbound firewall rules in the virtual network once the application is deployed successfully:
- 443/tcp: LEM UI access
- 8446/tcp: LEM admin console UI access
- 8883/tcp: LE to LEM MQTT connection
- 51820/udp: LE to LEM remote access connection
- Depending on desired network and architecture, you can define specific ranges of IP for sources and destinations.
- Review all required and optional inbound and outbound Litmus Edge Manager Firewall Port Configuration Requirements.
- Navigate back to the Overview page.
- In the essentials section, find the IP address associated to your Litmus Edge Manager instance by Azure.
- [Optional] Configure DNS

- Enter the IP or DNS in a browser to Access Litmus Edge Manager web UI.
Note: User access to UI will be determined by network & firewall configuration.