Use a GraphQL Endpoint
5 min
Complete the steps below to use a GraphQL endpoint.
Step 1: Create Client
You will first need to log in to your Keycloak profile for Litmus Unify and create a new client.
To create a client:
- Access the Keycloak admin console at: https://<Litmus UNS hostname>/auth/admin.
- From the Keycloak Realm drop-down on the left, switch the realm to standalone.
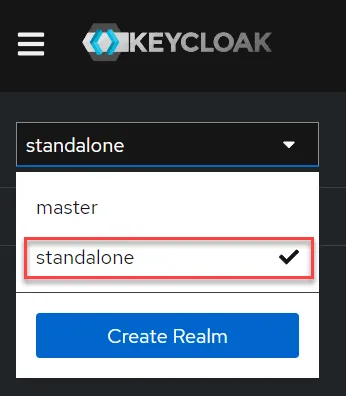
Keycloak realm side menu
- Navigate to Clients.
- Click Create client.
- Configure the General Settings.
- Client type: Select OpenID Connect.
- Client ID: Enter a client ID.
- Name: Enter a name for the client.
- Description: Enter a description for the client.
- Always display in UI: Leave the default setting to turn off the setting to always display the client in the user interface.
- Click Next.
- Configure the Capability config settings.
- Client authentication: Click the toggle to enable client authentication.
- Authorization: Leave the default setting to turn off authorization.
- Authentication flow: Click the checkbox for Standard flow, Direct access grants, and Service accounts roles.
- Click Next.
- Leave the Login settings empty and click Save. The new client is created.
Step 2: Create API Request
After creating the client in Keycloak, you will then create an API request through GraphQL by using Postman.
- In Clients, click the new client name.
- Click the Credentials tab.
- Click the Copy icon for the Client secret. You will refer to this later.
- Open the Postman application.
- Open your workspace in the left-navigation menu.
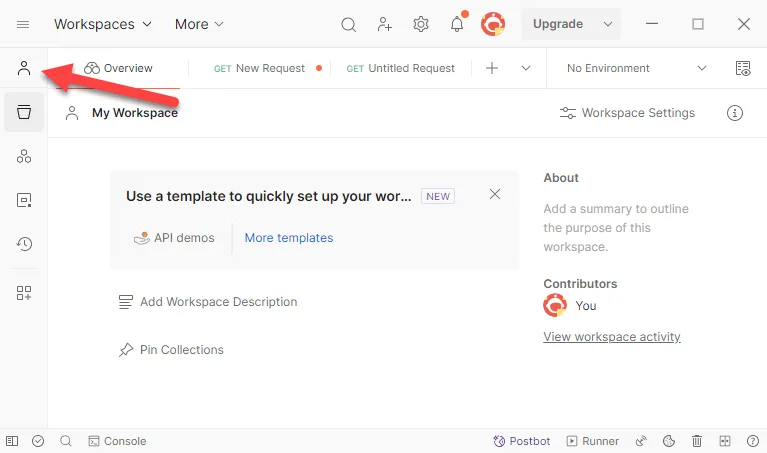
Workspace icon
- Click the New Request icon.
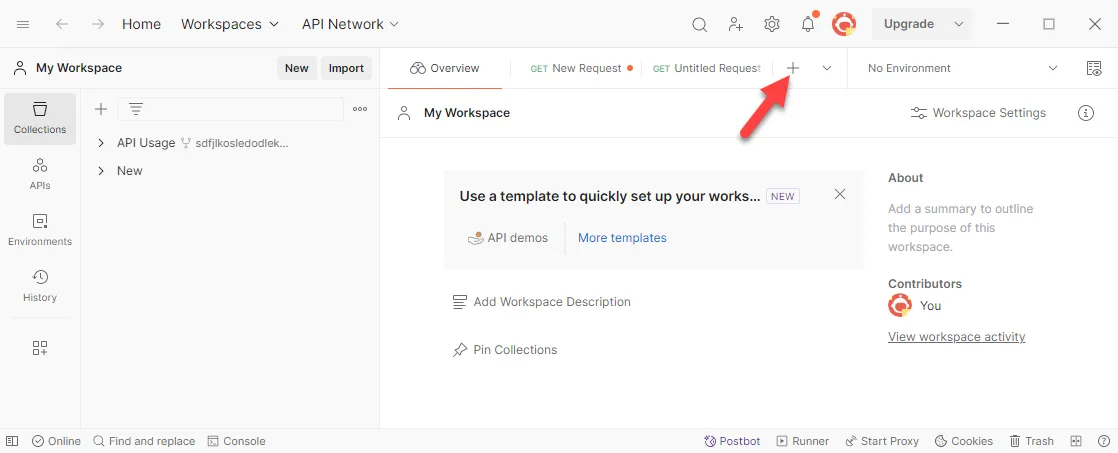
New Request icon
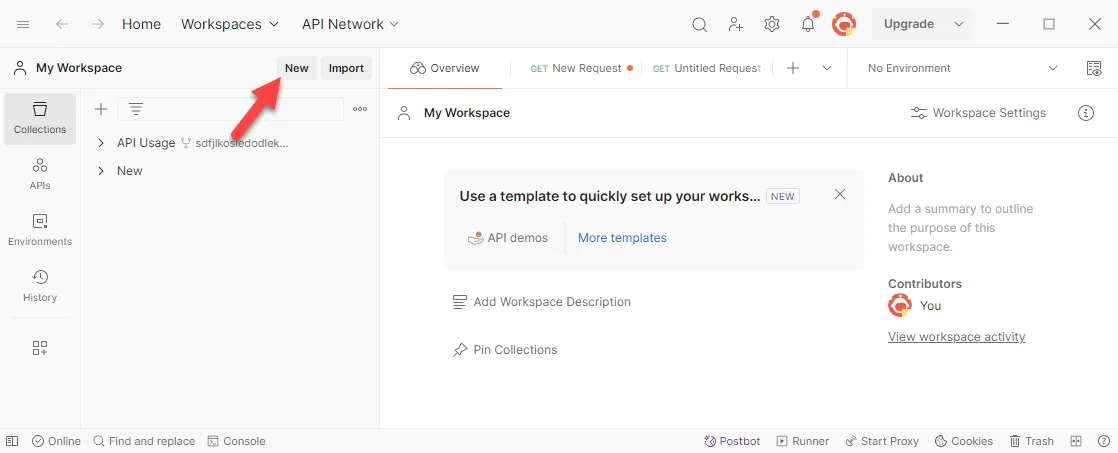
- Click New.
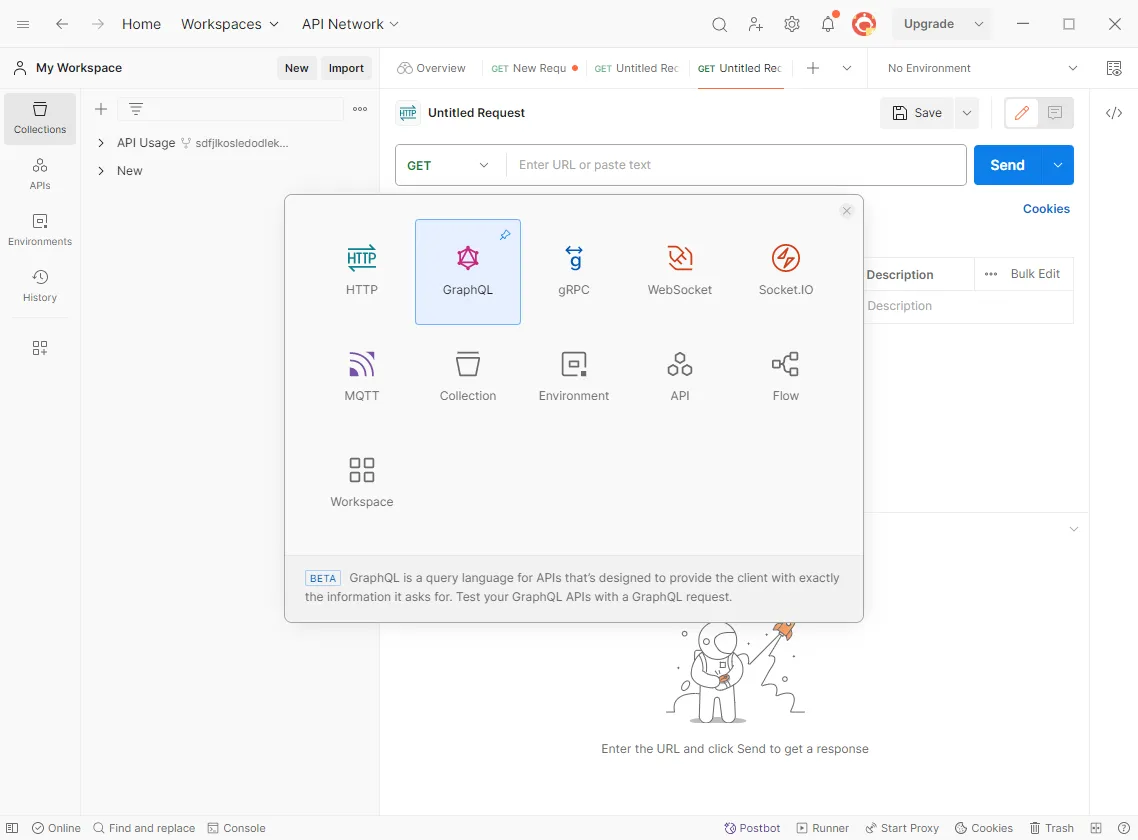
- Click GraphQL.
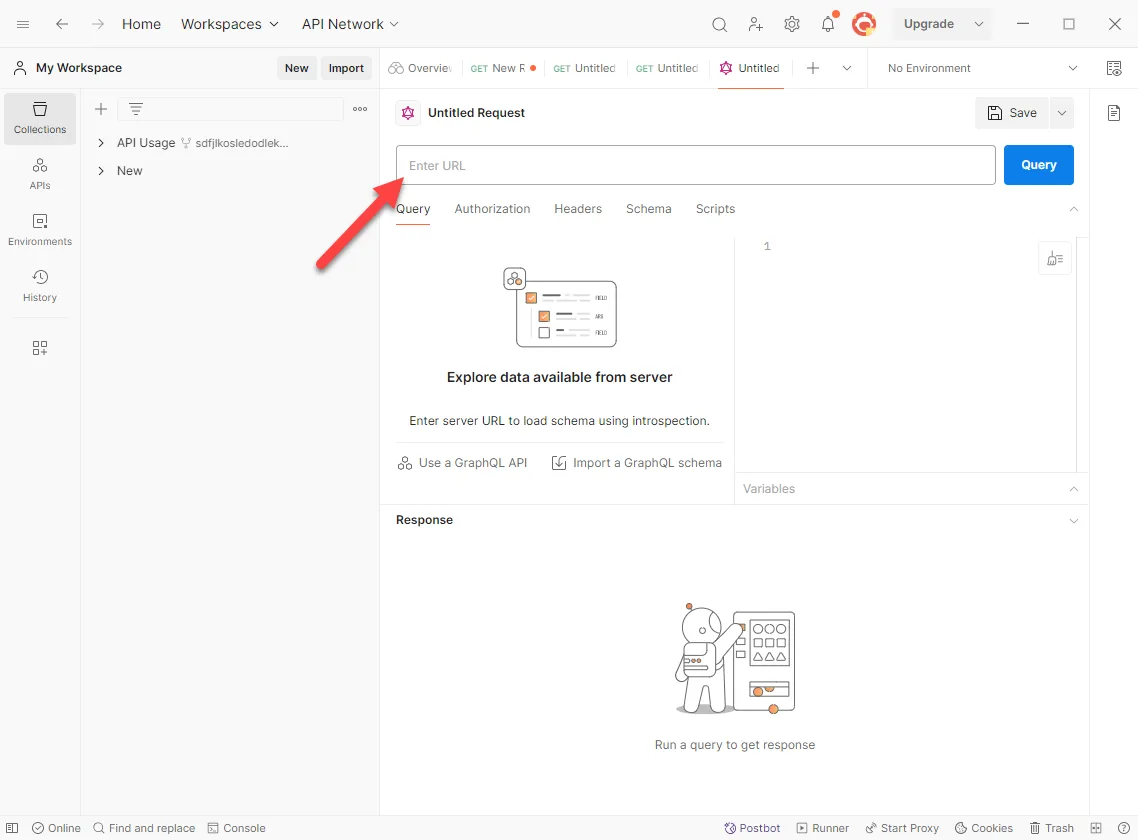
- For the new request, enter the following URL: https://<Litmus UNS hostname>/mqtt/gql.
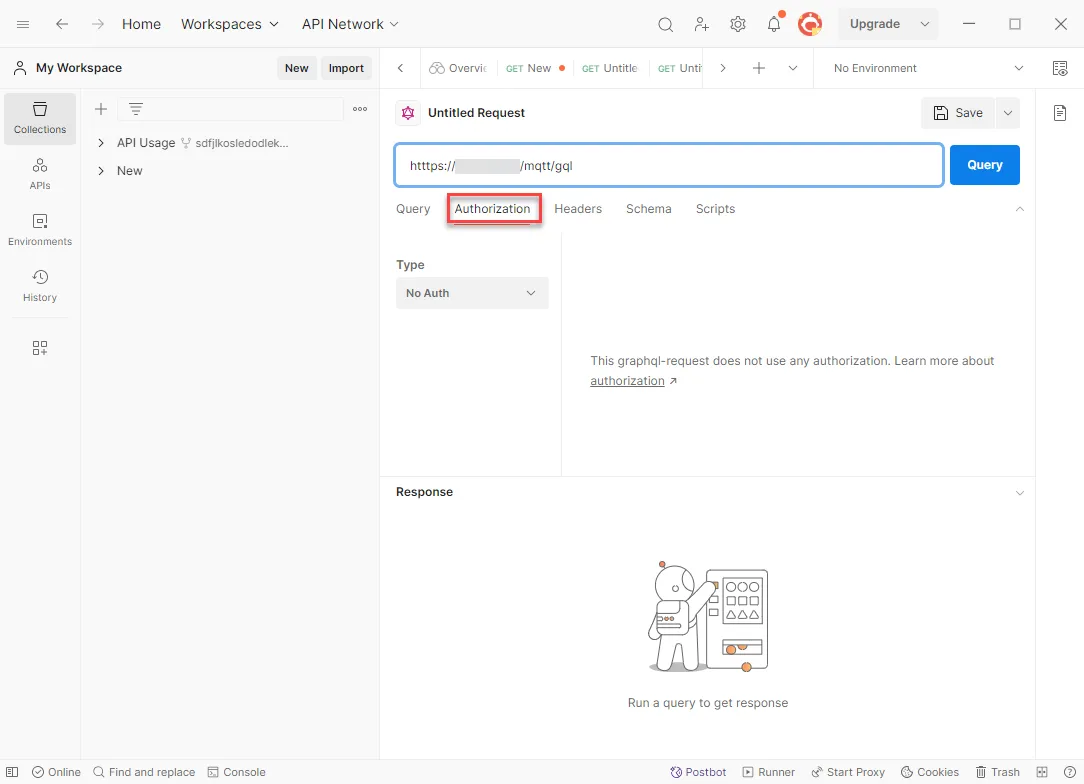
- Click the Authorization tab.
- For the Type, select OAuth 2.0.
- Enter the following details for Configure New Token.
- Token Name: Enter a name for the token.
- Grant type: Select Client Credentials.
- Access Token URL: Enter the following URL: https://<Litmus UNS hostname>/auth/realms/standalone/protocol/openid-connect/token
- Client secret: Paste the client secret copied previously.
- Click Get New Access Token and then Proceed.
- From the Manage Access Tokens dialog, click Use Token. The token is added to the request.
Step 3: Verify Version and Hash
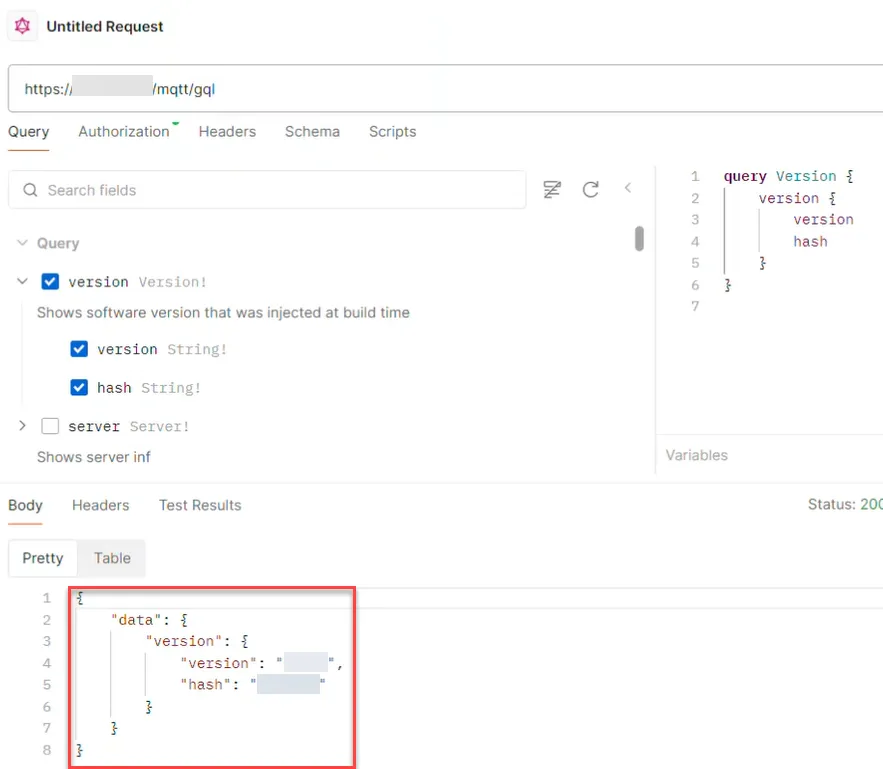
Once the token added to the API request, you can verify the version and hash values.
- Click the Schema tab.
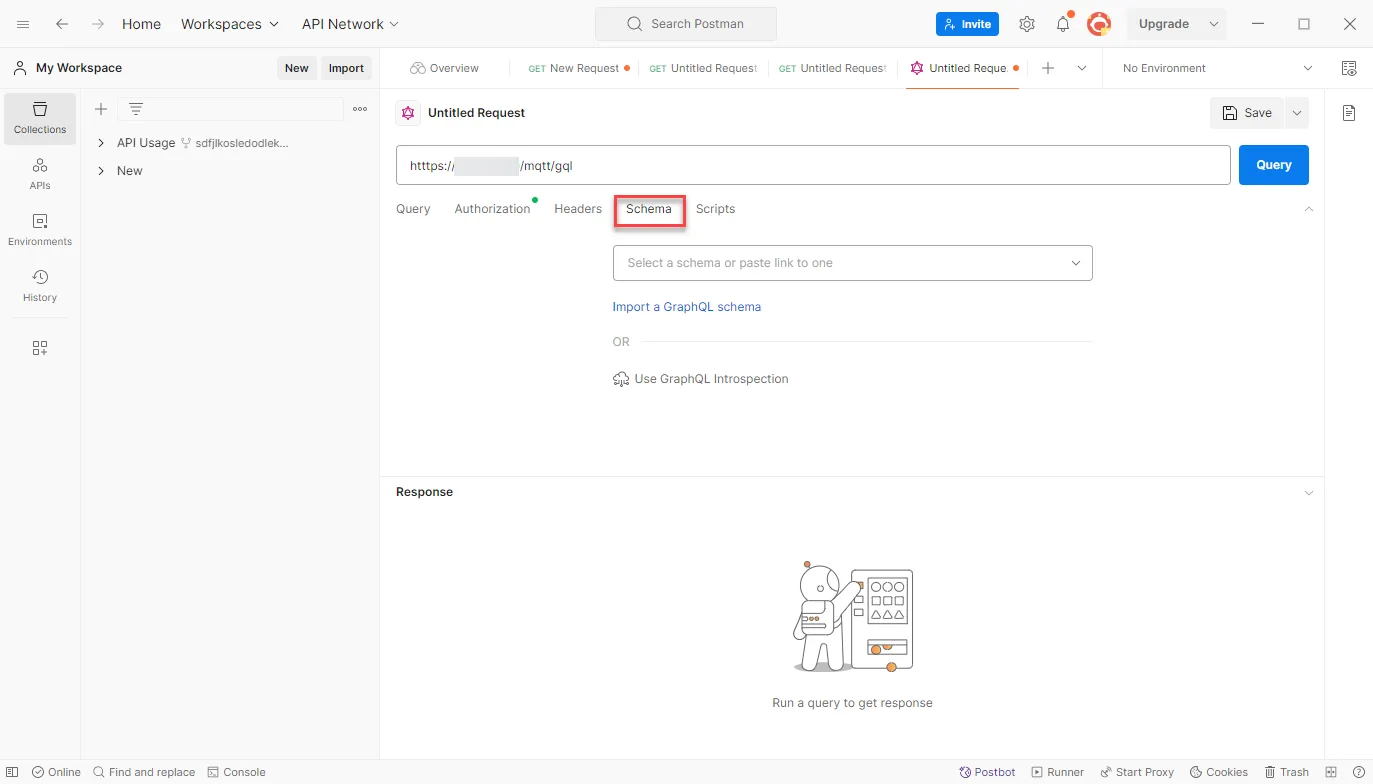
Schema tab
- Click Use GraphQL Introspection.
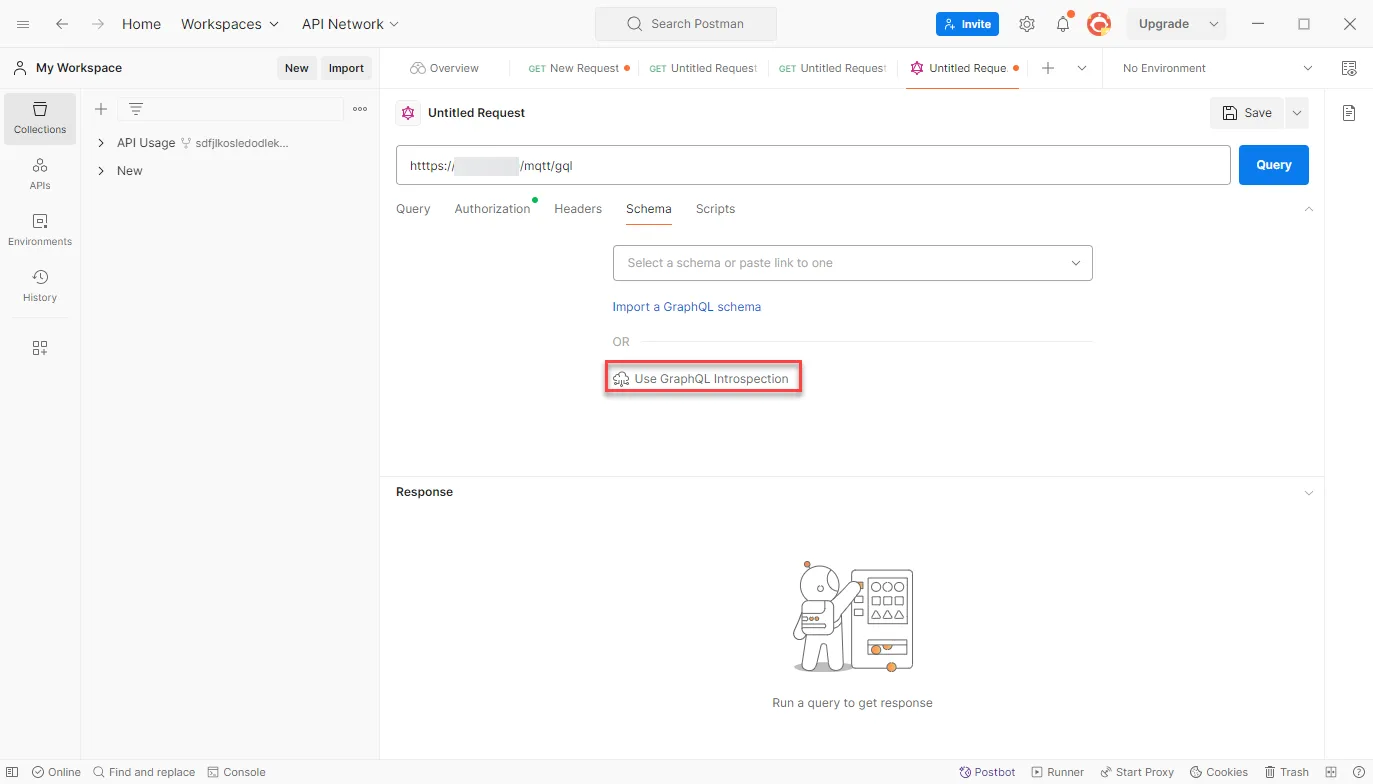
- Click the Query tab.
- Click the checkbox for version. The checkboxes for version Version!, version String!, and hash String! should be selected.
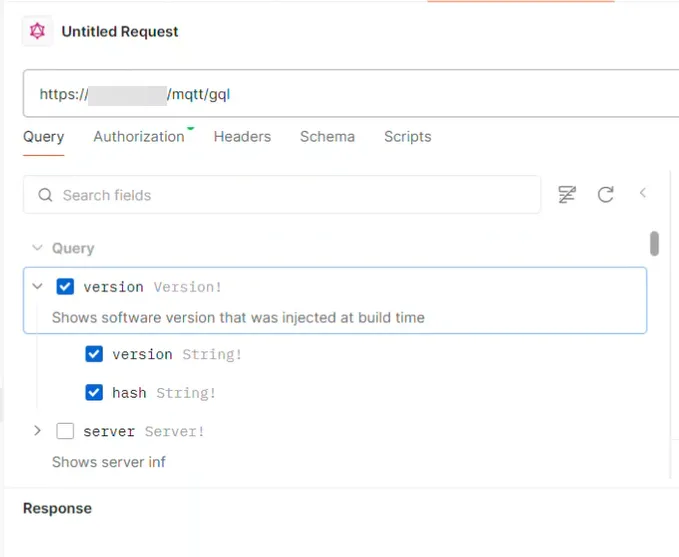
- Click Query. The response should display the version and hash values.