Connect a Client
3 min
You can connect to Litmus Unify through an MQTT client such as MQTT Explorer.
Before You Begin
You will need to Add a MQTT Account and use the username and password to connect to Unify.
Step 1: Access Connection Parameters
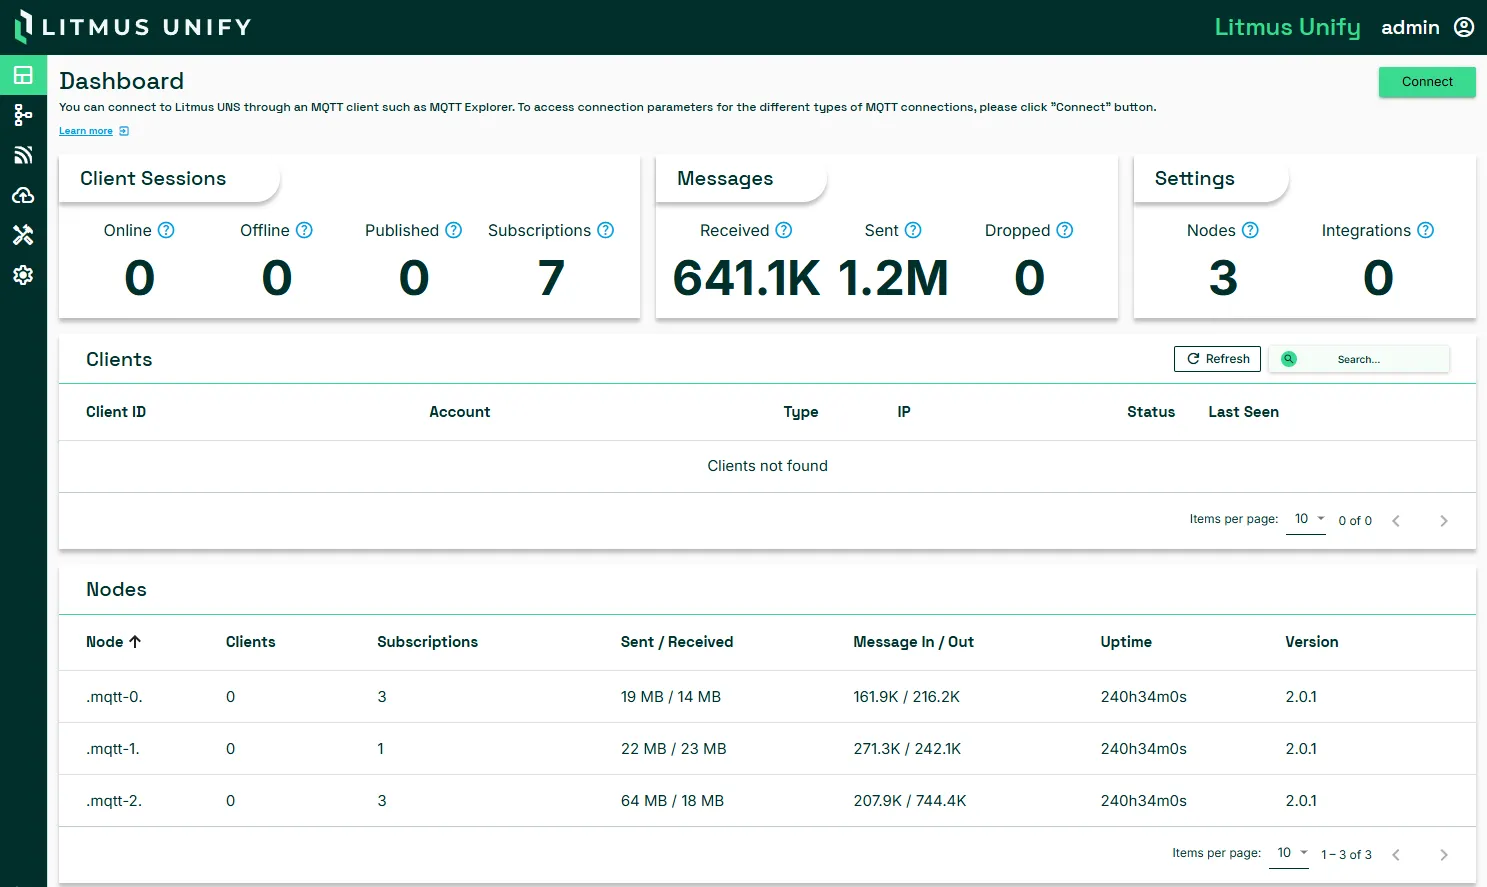
To access connection parameters for the different types of MQTT connections, navigate to the Unify dashboard and click Connect at the top right.
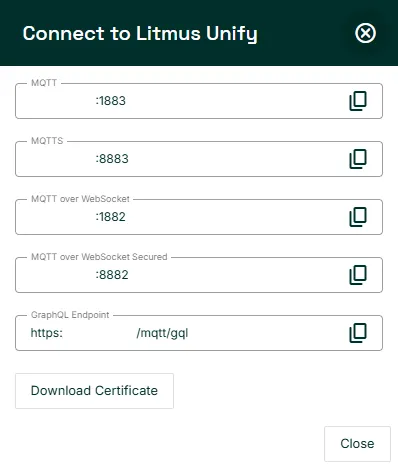
From the Connect to Litmus Unify dialog, review the hostnames and port numbers required for each type of MQTT connection. You can also download the certificate for Unify.
Step 2: Connect to Client
Once you have defined the type of connection you want to create, you can connect to Unify through a client such as MQTT Explorer. For these steps, we will use the MQTT Explorer client and create an MQTT connection.
To connect to a client:
- Open MQTT Explorer. The MQTT Connection dialog displays.
- Enter a name for the connection.
- For Protocol, select mqtt://.
- For Host, enter the hostname from Step 1: Access Connection Parameters.
- For Port, enter 1883. This is the port number to configure an MQTT connection. Note: For private beta, the port number is set to 1883. When Unify is released for general availability, you can customize the port.
- Enter the appropriate Username and Password for the account you want to use to connect. See Add a MQTT Account to learn more.
- Click Advanced.
- For MQTT Client ID, enter or paste the Client ID for the user. See Add a MQTT Account to learn more.
- Click Back.
- Click Connect. The client should successfully connect.