Add Tag(s) to DeviceHub for multiple Litmus Edge
To add Device(s) with Litmus Excel Add-ins, you should be familiar with how Devices work in DeviceHub on Litmus Edge.
Before You Begin
- You have installed the Litmus Excel Add-ins extension. See Install Litmus Excel Add-ins for details.
- You have prepared a Tool file.
Initial Preparation
Open a new Tag Management Tool File in Excel.
If prompted, Enable Content to allow the code to run.
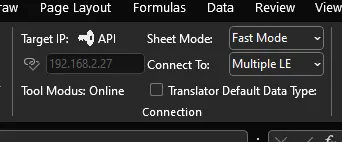
Make sure the the tool is set to Fast Mode for the Sheet Mode option and Connected To is set to Multiple LE.
Add Tag(s) in Fast Mode
Notes:
Every Driver will have their own set of Device Properties depending on the respective protocols. The steps below show an example using ONE of the over 100 Drivers.
Mandatory Tag settings
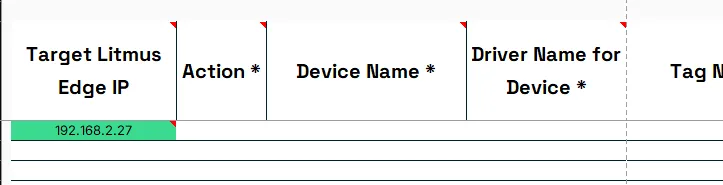
Set the Target Litmus Edge IP
Enter the IPv4 of the Litmus Edge you want add the device on into column Target Litmus Edge IP.
Notes:
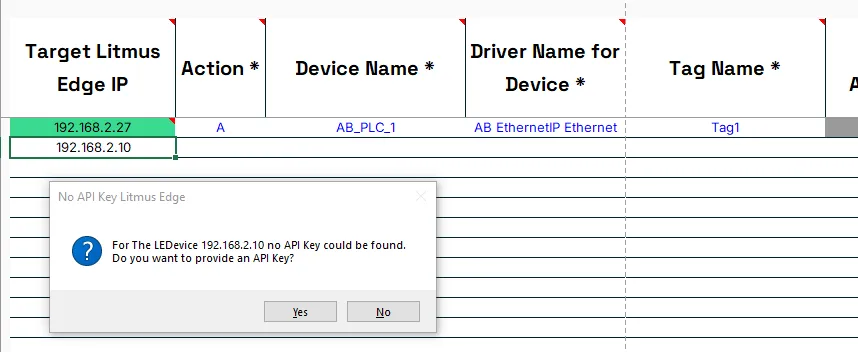
If no API Key for the device was previously provided, the user will need to provide the API key.
The two D's and T
Provide the following three Tag Settings to start the definition of a tag.
- Device Name: Select the Device for which you want to add the Tag.
- Driver Name for Device: Select the Driver which is used for the Device.
Notes:
The Driver Name will be automatically set, if the Device Name is selected first.
- Tag Name: Provide the Name for the Tag.

Notes:
The tool will verify that the entries for this column are unique per Target Litmus Edge IP and Device Name and notify the user in case the same Tag Name was already used.
It is Recommended to click the Compare vs LE Button to check if a Tag for the provided Device and with this Name may already be defined on Litmus Edge. If no Tag for the selected device and with the name combination is defined, the row will stay as A for the Action.
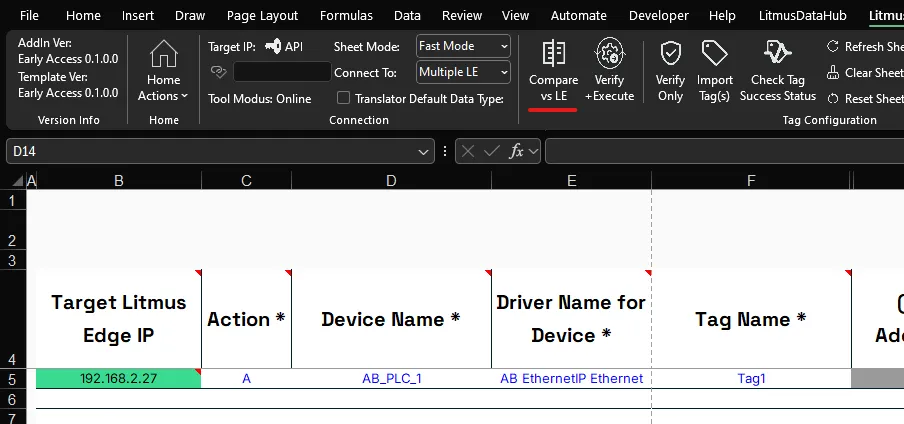
If a Tag for the selected driver and with the name combination is already defined, the row will change to M for the Action and the settings of the tag will be pulled.
Notes:
This doesn't need to be done for every tag individually but can instead be done once all desired tags have been added to the sheet.
Tag Definition Properties
Tag Definition Properties are a mandatory set of Tag Settings, which are required for the request the data from a device.
Based on the driver, the Tag Definition Properties can be added using either the Tag Address Translator or for OPCUA the Tag Browser .
Most tags require a set of three values to define the Tag definition.
- Register Type: The type of the register used when the tag was setup on the device. This is driver specific.
- Tag Value Data Type: The value type of the tag. This is driver specific.
- Register Address / Path: The numeric register address of a tag on the device or the path string of the tag. This is driver specific.

The Tool will automatically pull potential Driver Specific settings with a default configuration for the Driver similar to how the UI on Litmus Edge prepopulates the Tag Wizard.

Notes:
For some drivers, tags can require different tag definition properties, which can lead to certain columns being grayed out as they do not apply.

To read data for these tags, users provide the respective settings through the Driver Specifics column.
If all mandatory (*) Tag Settings are provided, as well as all not mandatory settings are changed, the Tag is ready to be added to Litmus Edge.
Notes:
To add more Tags to the sheet, repeat the process described under Add Tag(s) to DeviceHub for multiple Litmus Edge for every tag you want to add.
Tag Address Translator
For some Drivers, the tool features a Tag Address Translator. Which can be used to provide the address in their typical format and translates it into the Tag Definition Properties used by Litmus.
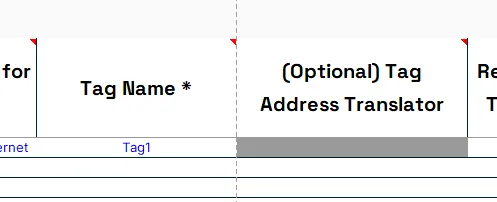
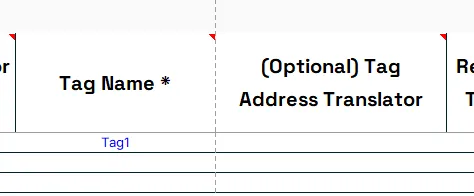
To be able to use the Tag Address Translator, the column (Optional) Tag Address Translator has to be not grayed out.
Tag Address Translator Not Available:
Tag Address Translator Available:
Type in the tag address in their typical driver specific format.
Example: Siemens S7 1500
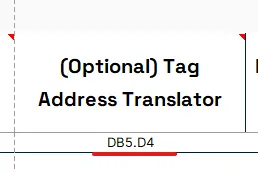
The Tag Address Translator will parse the provided address and set the respecitve three Tag Definition Properties and potential Driver Specifics.
Example: Siemens S7 1500

Notes:
It is possible that an address could be defined with one of multiple Tag Data Value Types.
Example: A Siemens Tag with and address like DBx.Dy. could be of Tag Data Value Type:
- dword -> default
- dint
- real
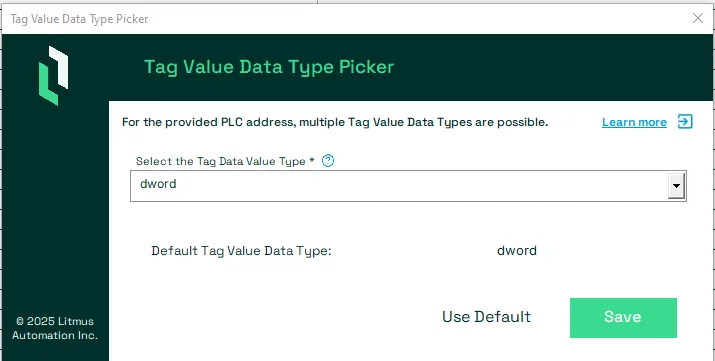
In these cases the Tag Address Translator will by default
request from the user to select the Tag Data Value Type.
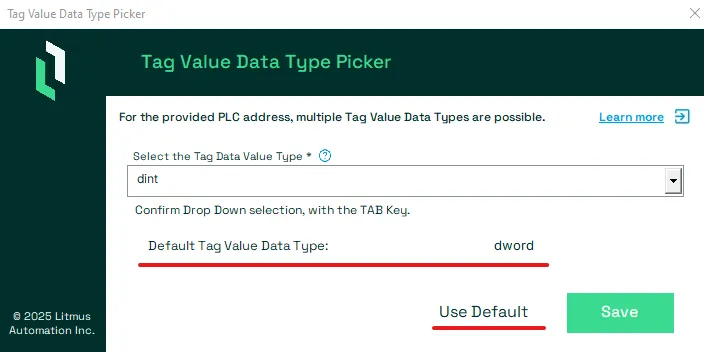
The Form shows the default Tag Data Type. Which you can accept without the need of selecting it using the Use Default button.
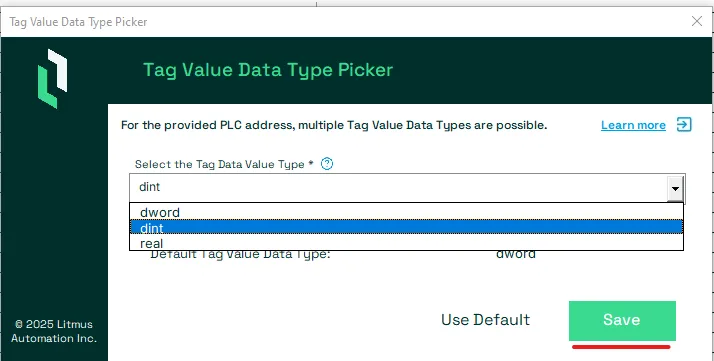
Otherwise select the Tag Value Data Type you need from the drop down and press the Save button.
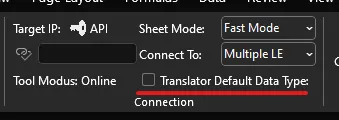
The user can also force the Tag Address Translator to always use the Default Tag Data Value Type.
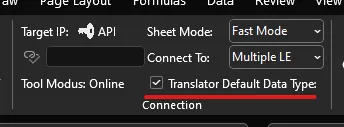
Tag Browser
For the OPC UA Client Advanced driver and Litmus Edge versions after 3.16.x which support the new Tag Browsing, the tool offers the option to browse for tags and import their settings into the tool.
Before you will be able to browse for tag with the Excel Tool, you will need to setup at least one Browse Task and have it being completed.
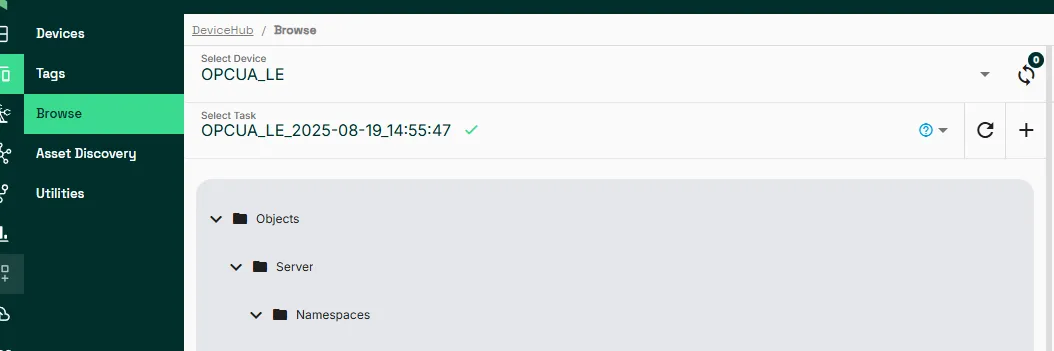
You can see if Tag Browsing is avialable if the Tag Browse Wizard button is shown in the LitmusConfiguration ribbon when a cell in any of the columns:
- Tag Name
- (Optional) Tag Address Translator
- Register Type
- Tag Value Data Type
- Register Address / Path
is selected
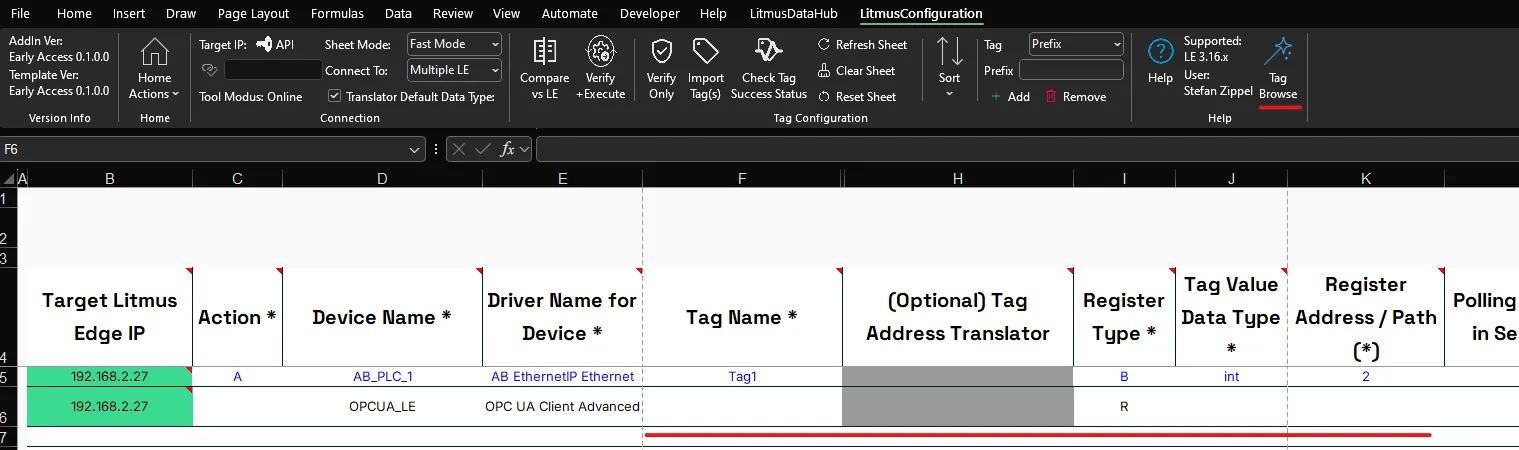
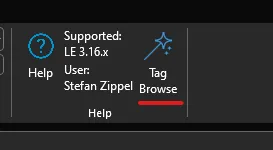
Press the Tag Browse button.
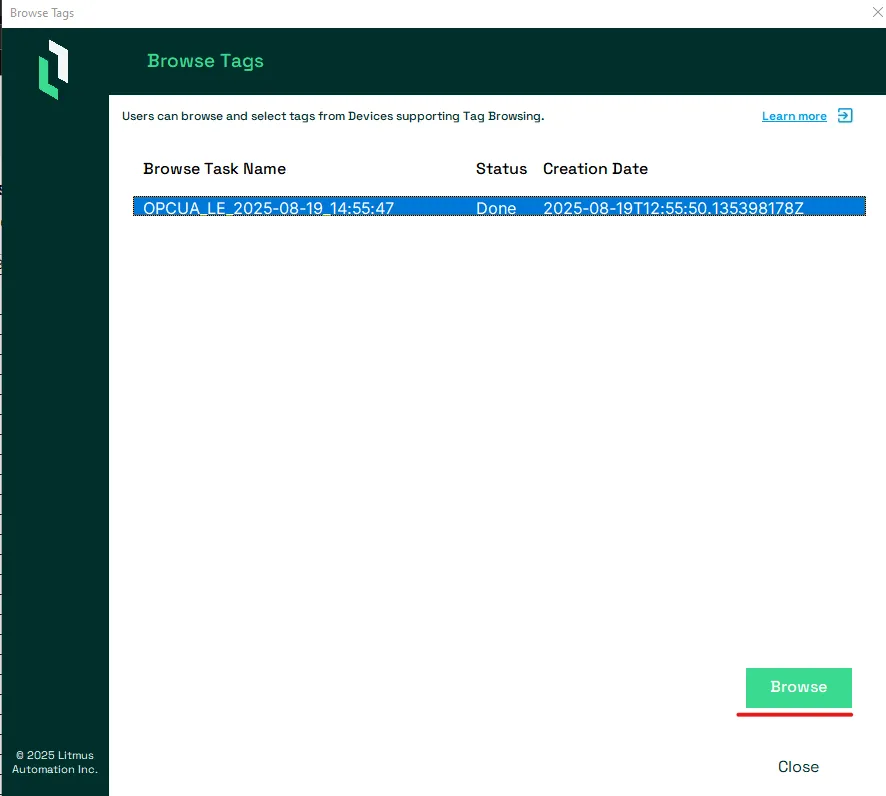
Select the Browse Task to use and press the Browse button.
Select the Tag(s) you want to import and press the Import button.
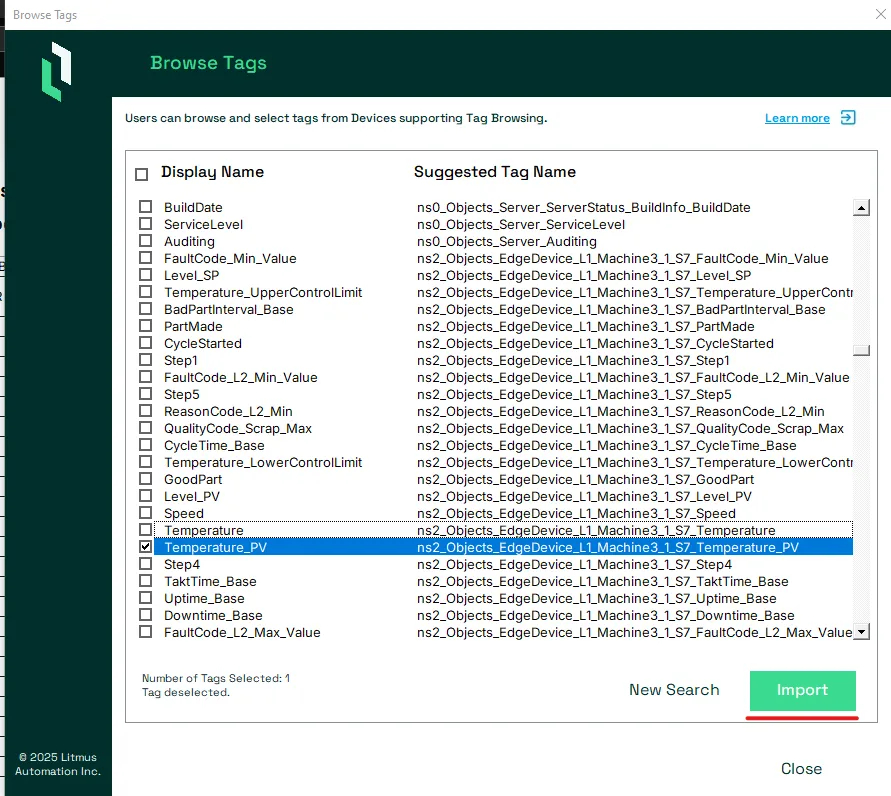
This will import the tag(s) with their Suggested Tag Name as Tag Name and the Tag Definition Properties.

Important: This will overwrite any previous value in column Tag Name.
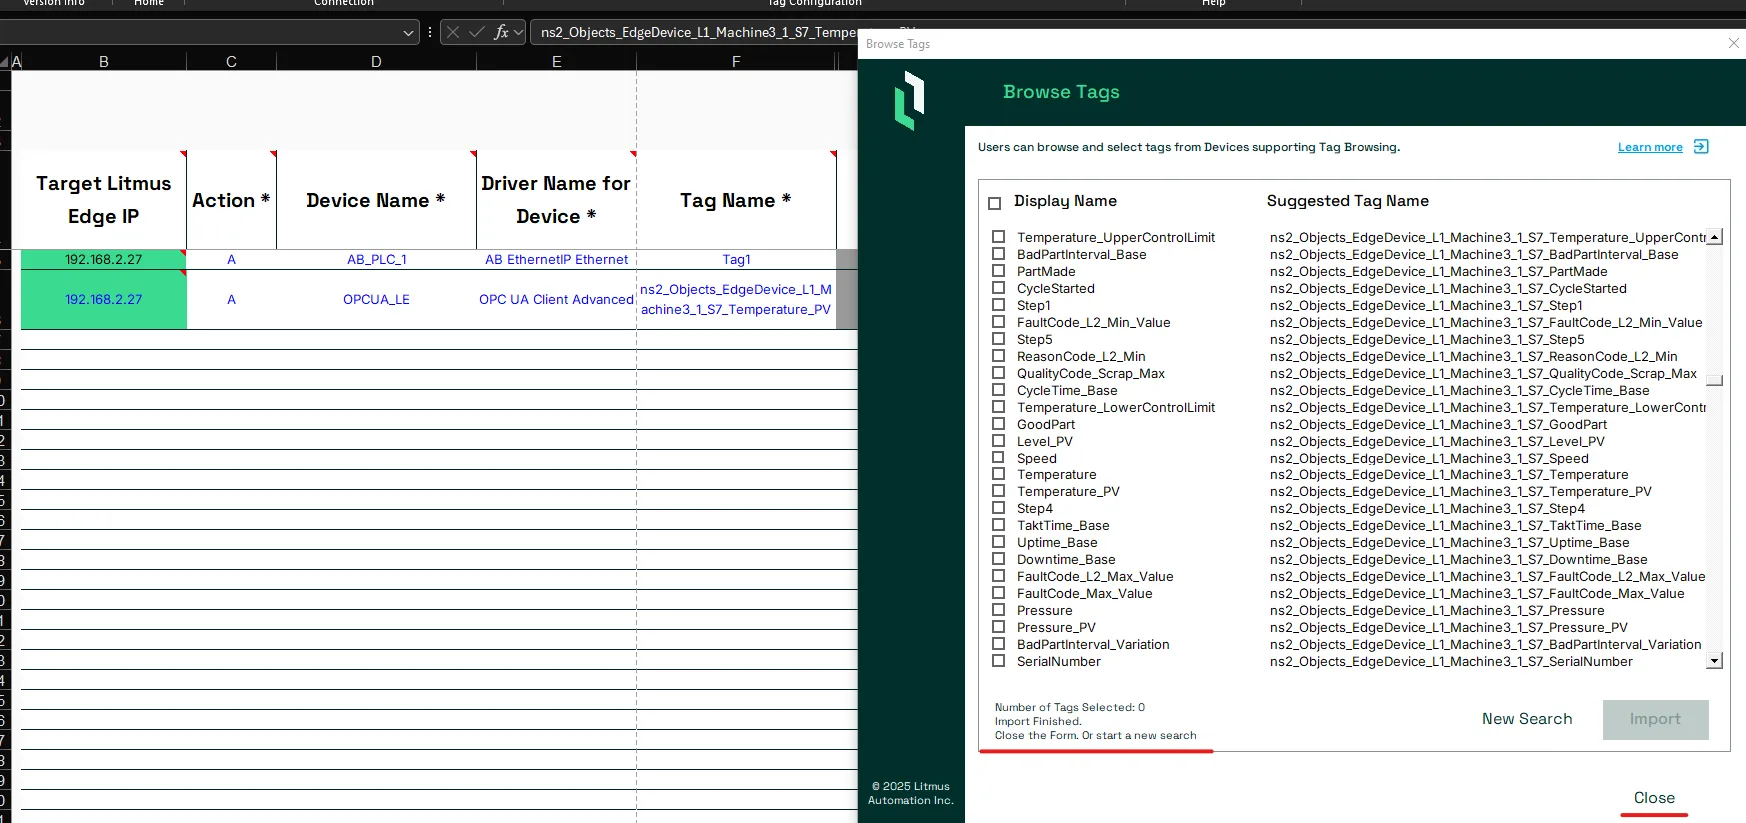
The selected tag(s) with their settings are imported into the sheet. Once finished, the user can either.
- perform another search using the New Search button
- finish the import using the Close button
Executing Actions
When all mandatory and not mandatory settings for all tag(s) are set they are ready to be added.
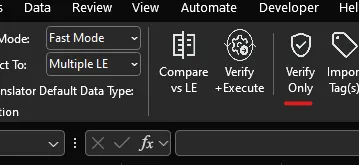
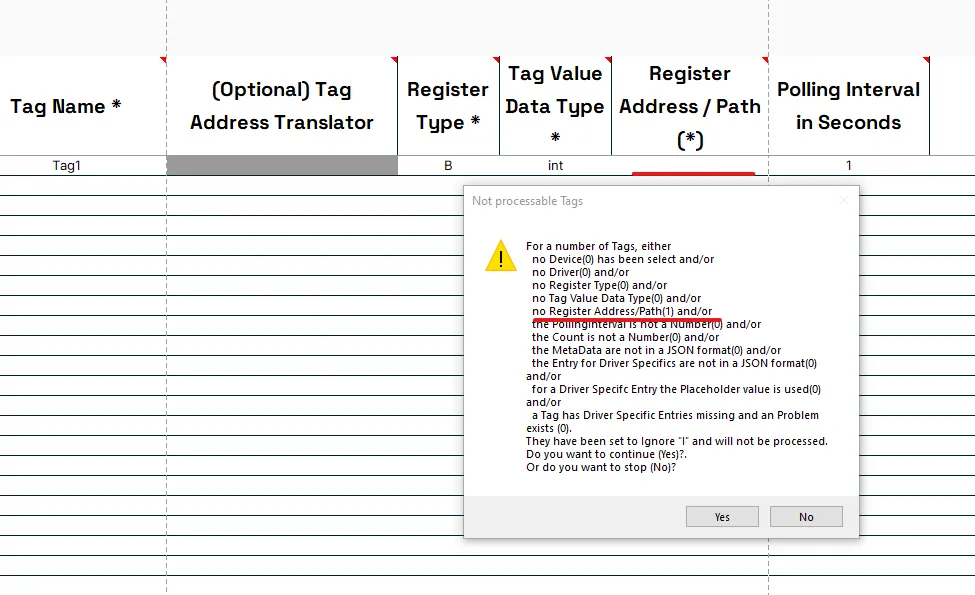
It is Recommended but not mandatory to verify the configuration first without executing the Action by pressing the Verify Only button.
This will check that all required Tag Settings are provided and logically correct. And provide any finding to the user. Example: Below the user did not set a Register Address / Path.
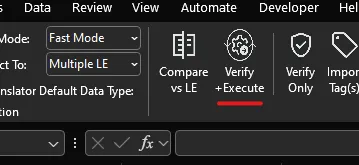
The Tag(s) can be added to Litmus Edge by pressing the Verify + Execute button.
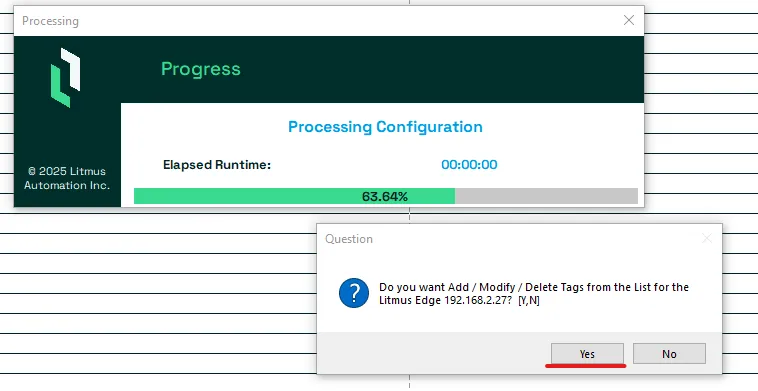
The tool will group all the devices based on the Litmus Edge(s) defined in column Target Litmus Edge IP. For each Litmus Edge this will check that all required Tag Settings are provided and logically correct. And provide any finding to the user. If no issues have been identified, the tool will verify that the user wants to execute ALL the actions from the Action Column:
- A: Add Tag(s)
- M: Modify Tag(s)
- D: Delete Tag(s)
- I: Ignore Tag(s) -> do nothing
To perform all actions, press the Yes button.
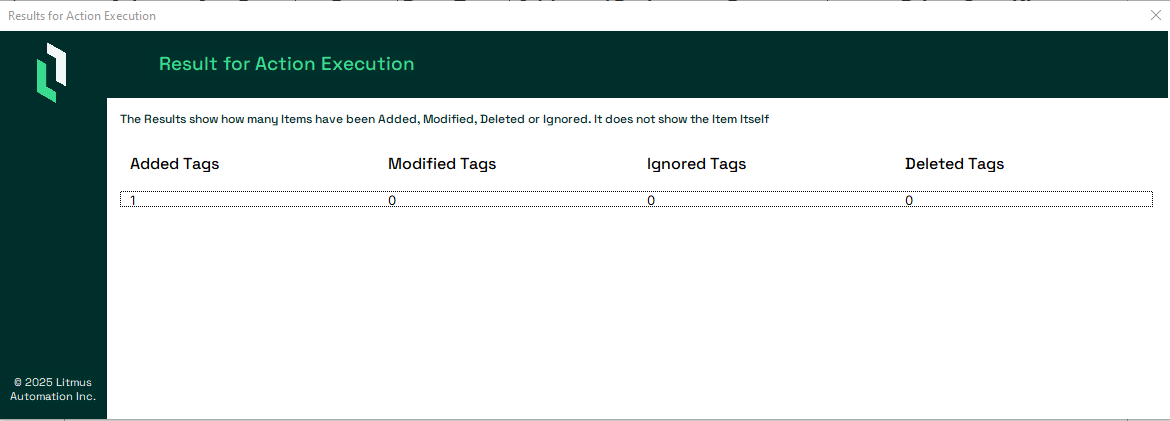
The Tool will perform ALL Actions one Litmus Edge at a time. When finished, a result Summary is shown for each Litmus Edge. Close the Result Summary by pressing the X close button to continue with the next Litmsu Edge.
Once all Litmus Edge have been processed, the tool will ask if the user wants to re-compare the Tag(s) against Litmus Edge. To re-compare, press the Yes button. To not re-compare, press the No button.
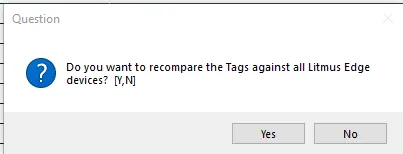
If the User selected to press the Yes button from aboves messagebox, the tool will pull all the tag settings from Litmus Edge again including the RegisterID and also change the Action to M for each Tag with a RegisterID or A for devices with no RegisterID.

Not Mandatory Tag Settings in Fast Mode
Each Device has a number of not mandatory Settings which can be used to meeat specific needs.
- Polling Interval in Seconds: The time between the Litmus Edge requesting data from the device. For millisecond values, provide the value as decimal.
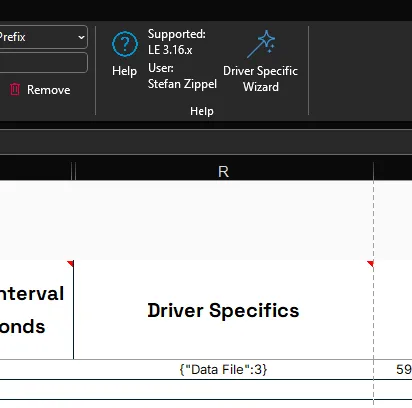
- Driver Specifics: Many drivers require very unique Tag definition Properties specific to their make and model. This column combines all of these as a single JSON Object with a default configuration. It is recommended to use the Driver Specific Wizard when setting your specific values for these Driver Specific settings.
Add Tag(s) in Extended Mode
Make sure the the tool is set to Extended Mode for the Sheet Mode option.
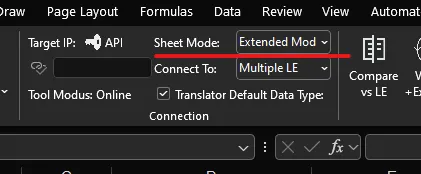
This will provide the user with all available not mandatory Tag settings.
Setting Mandatory Tag settings and Executing Actions is the same process as for Add Tag(s) in Fast Mode.
Not Mandatory Tag Settings in Extended Mode
Each Tag has a number of not mandatory Settings which can be used to meet specific needs.
- Tag Description: A short description of the tag.
- Polling Interval in Seconds: The time between the Litmus Edge requesting data from the device. For millisecond values, provide the value as decimal.
- Count: The number of consecutive registers including the one defined for this tag. If the value is larger 1, the returned data will be an array.
- Publish on COV only: Only publish a new value to the message broker if the value changes.
- Tag Formula: Enter a formula for the tag to process the generated data. See Tag Formula Variables to learn more.
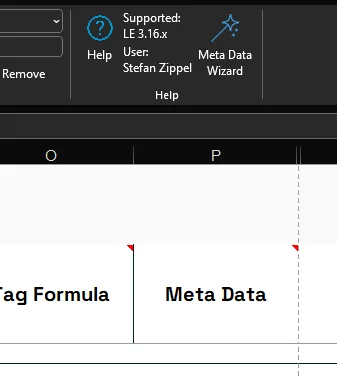
- Meta Data: Provide a JSON Object which holds all the Meta Data you want to add to the Tag. See Organize Device and Tag Data by Using Metadata to learn more. It is recommended to use the Meta Data Wizard.
- Driver Specifics: Many drivers require very unique Tag definition Properties specific to their make and model. This column combines all of these as a single JSON Object with a default configuration. It is recommended to use the Driver Specific Wizard when setting your specific values for these Driver Specific settings.
Troubleshooting
The Tool will perform several checks throughout the proces of defining the tag settings. If they do not pass successfully, the user will be notified. The checks include:
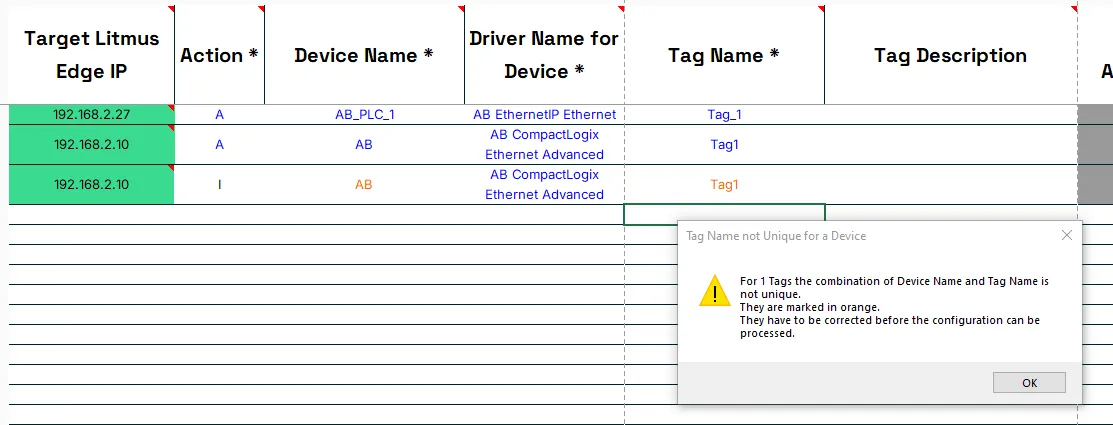
- Tag Name uniqueness on a Device level.
- The tool checks if a Tag Name already exist for a specific Target Litmus Edge IP and Device Name in the Tool.
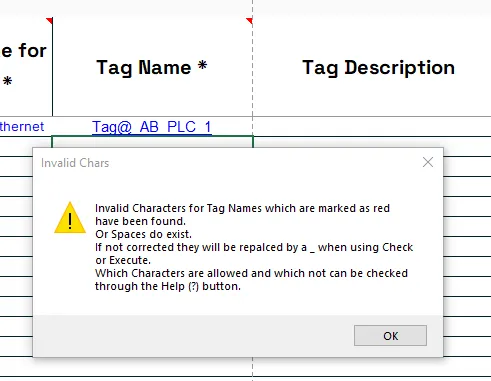
- Allowed and not allowed Ascii Characters for Tag Names and Descriptions
- The user is shown a message box as notification.
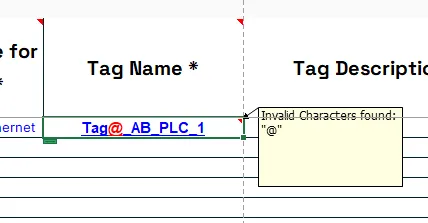
- The character(s) are highlighted in red and also shown in a note.
- See Allowed and not allowed Ascii Characters for Names and Descriptions for a full list for both Names and Descriptions.
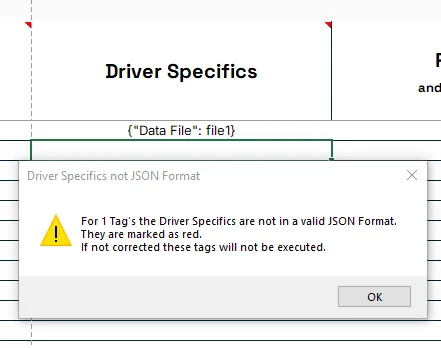
- Correct JSON formating for Meta Data, and Driver Specifics.
- Example for an invalid JSON formatting of the Driver Specifics
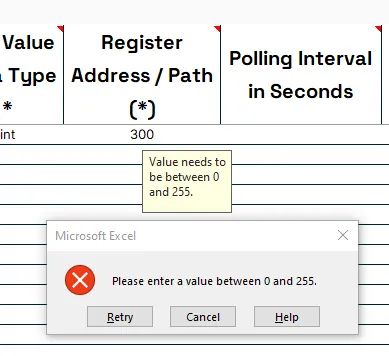
- Valid entry for Register Address / Path, if value has to be a number, to be a number and withhin allowed range
- Example for an invalid entry for the Register Address / Path
- Is the column Driver Specifics empty. If they are, and the driver requires driver specifics the default JSON Object will be automaticly added.
- For some drivers the tool also verifies if there exist mandatory JSON Key-Value pairs in column Driver Specifics with a value being:
- empty
- null
- empty array "[]"
- empty JSON Object "{}"
- For drivers which use queries to read data from databases the tool also verifies the query defined in the column Driver Specifics is setup to perform SQL Injection.